I was hoping for more Flying Biscuit pancakes this morning since I’ve been craving them for the last week, but hubby and I had big plans this morning.
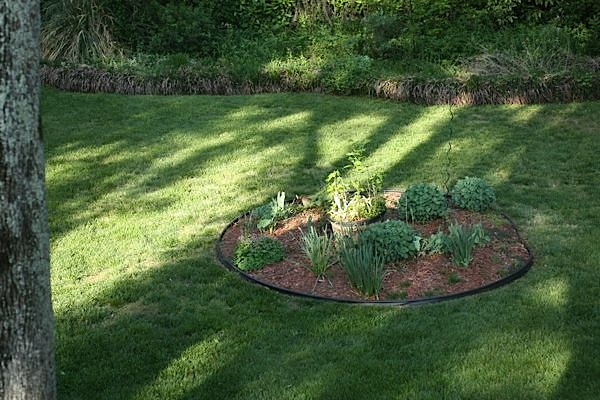
I woke up and caught our rabbit couple chasing each other around our yard. You can kind of see one of the little guys in the circle there towards the back. They were literally running in circles at full speed. Those guys are fast!


I made a quick breakfast of coffee and Power Toast with Great Harvest honey whole wheat toast topped with Barney Butter, sunflower seeds and hemp seeds.
100 Worms
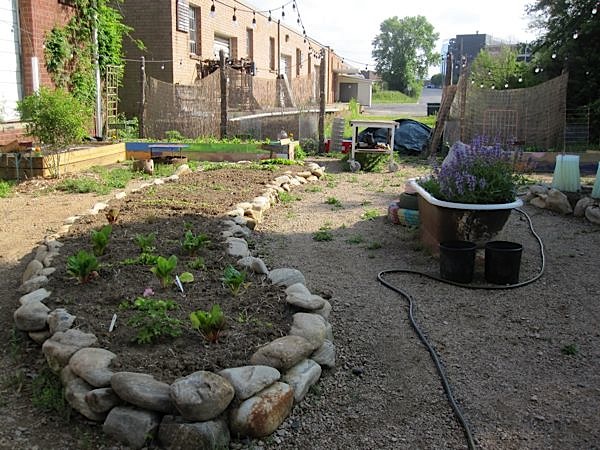
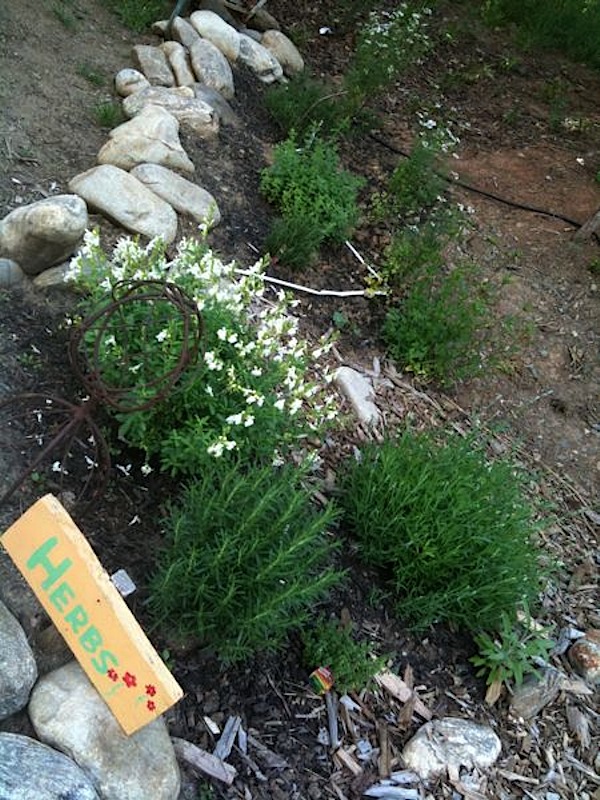
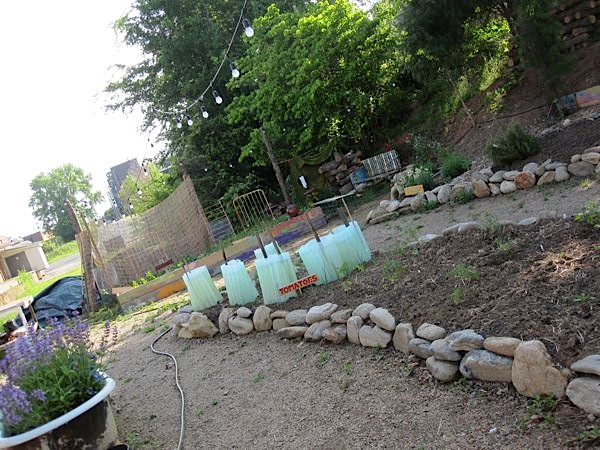
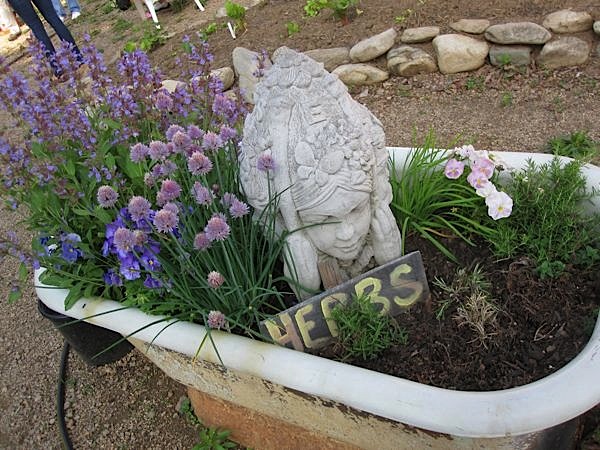
Hubby and I met at a local charity garden for a composting class. The gardens were so cool to see and I loved how they had several good examples of companion planting (planting veggies/herbs that grow together well).
On the agenda:
- Leaf composting
- Worm composting
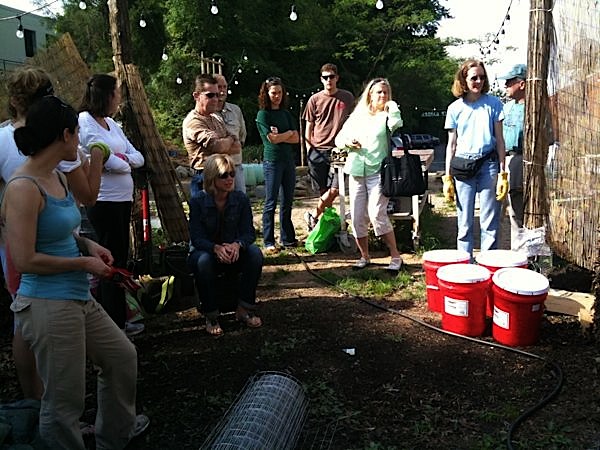
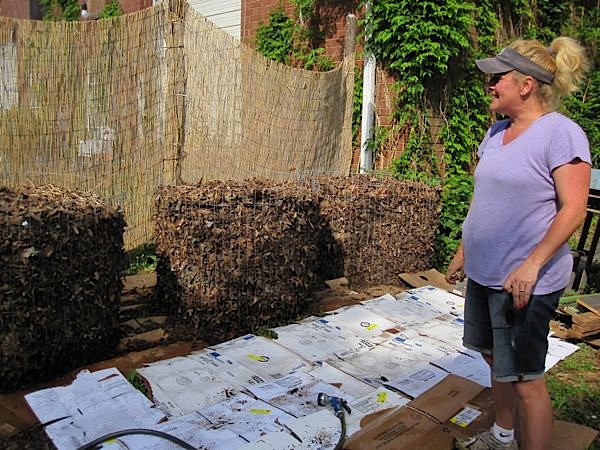
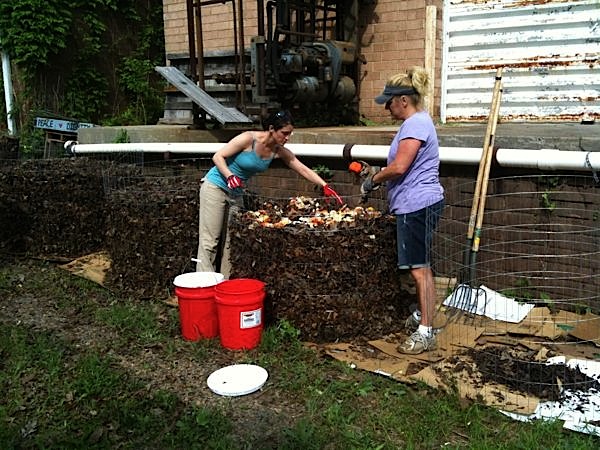

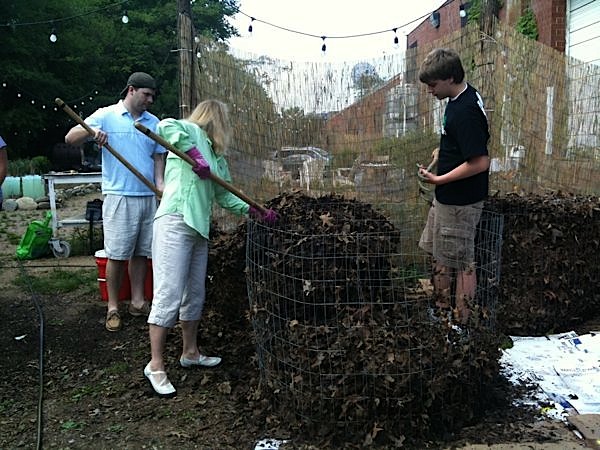
We learned how to set up and maintain a leaf composting bin. Hubby turned out to be quite the helper, offering to help out on two of the activities (stirring compost and turning compost). We learned a lot and I took a lot of notes – all on my iPhone in the Notes application.
Here are the notes I took (sorry they’re not prettified, but there’s some good tips in there for leaf composting):
- Don’t put bin under tree line (same distance as limbs) – or put cardboard under or a tarp or old carpet
- No grass clippings – smell
- Keep 30 ft from stream
- Not near neighbor (visually not that attractive & can smell)
- Put it somewhere convenient – need to get water to it & u get to it
- Shade or sunshine
- Use 12.5 ft length wire to form bin – can be smaller length wire. Not under 10ft
- When cutting wire, make sure one end flush – one end prongs
- Put hooks on outside
- Pests like scraps – need to bury scraps so they don’t smell it – 6-12 inches
- Hardest work 1st setup
- 4 layers – leaves, scraps (or rabbit food alfalfa) – 30 to 1
- Leaves, add scraps, add water, mix – repeat 3 times – top w dry leaves to finish
- Can’t wet leaves enough
- Can use cow manure but never dog or cat
- Let sit for 1 week
- Can use turkey thermometer to get heat.
- No meat
- Bread good
- Tea bags, coffee grounds good, coffee filters
- Don’t get leaves from pristine neighbors house – might mean they used chemicals
- After 1st week, lift wire bin over and off of the leaves – circle bin & pull up as you go to remove fencing. Can undo twines but they may break off.
- Once bin removed, set into new spot and fill with the leaves.
- Put outer leaves inside. Break up clumps.
- Flip every 3-4 weeks
- To feed (when you insert kitchen scraps, etc) u need a stiff bar-shove in bin. Circle to make larger hole. Add scraps, cover w leaeves. Use marking stick to show where u fed it.
- Should have compost in 3-4 months.
- Important for compost to cure.
- To tell if ready, compost should be cool – about outside temp.
- If still hot it’s not ready-don’t put on veggies or it will suck nutrients.
- If pile doesn’t heat up u may need more water or nitrogen
- Water when u flip
We got enough wire to set up our own leaf compost at home. Too bad we don’t have any leaves right now! I may have to check out some of my neighbors yards!
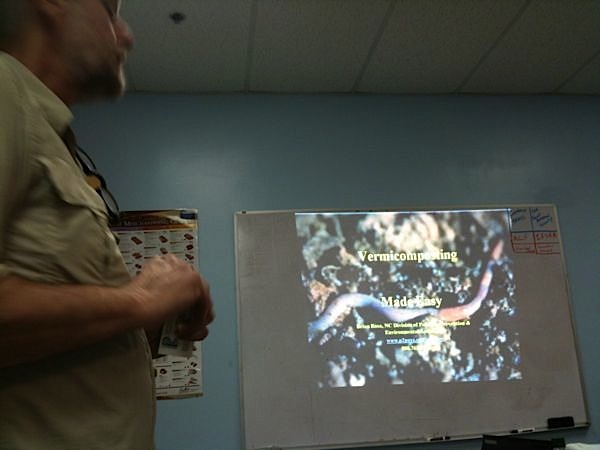
Next, we went inside to learn about vermicomposting, which is using worms to create compost called “worm castings.”
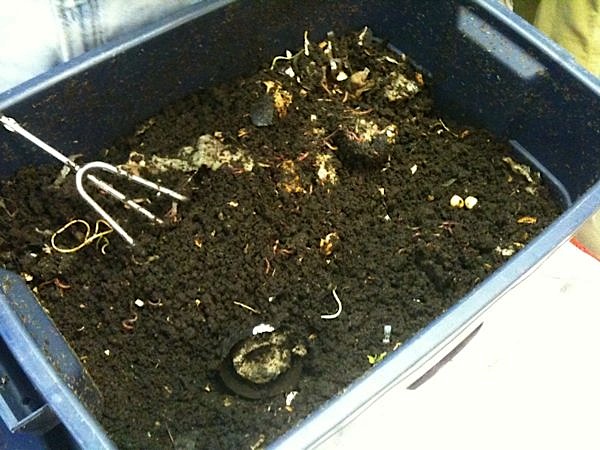
After a quick powerpoint presentation, we got to see an example bin and then start building our own.
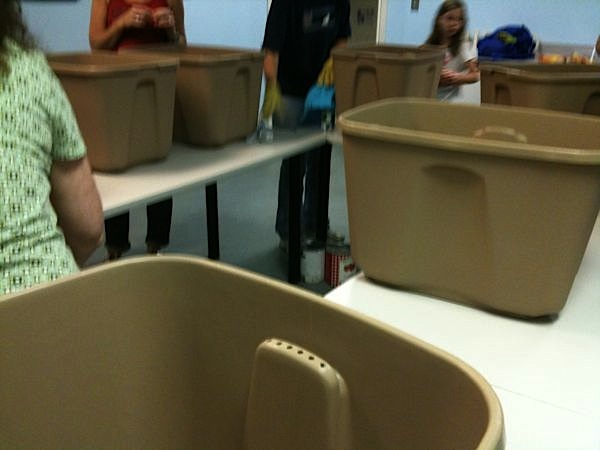
Get your bins.
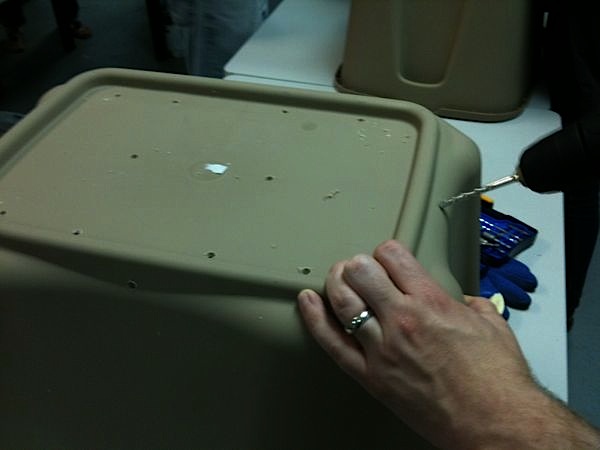
Drill holes. 8-10 on the bottom. 4-6 on the bottom sides. 12 along top of bin.
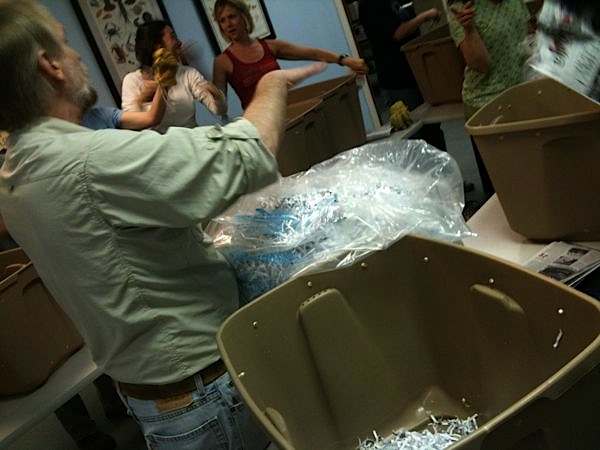
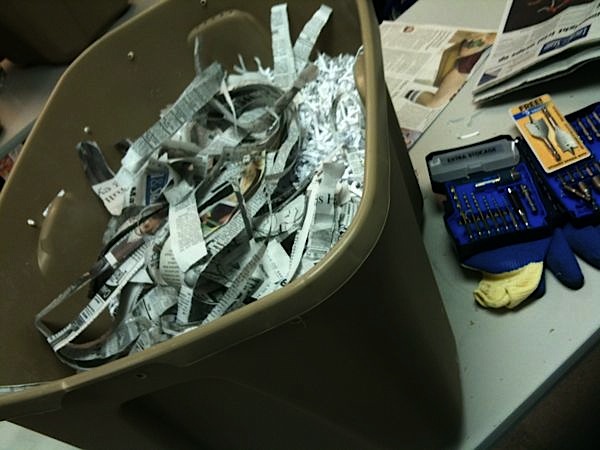
Fill with scrap paper or torn newspaper (tear in 1/2″ strips) to 3/4 full.
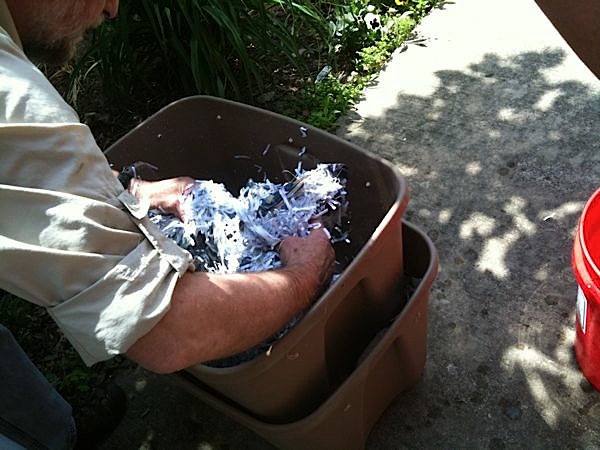
We took the bin outside, nested it with someone else’s bin (to be efficient with the water so the stuff that dripped from top bin would go into next. We just had to add enough water to soak the paper through.
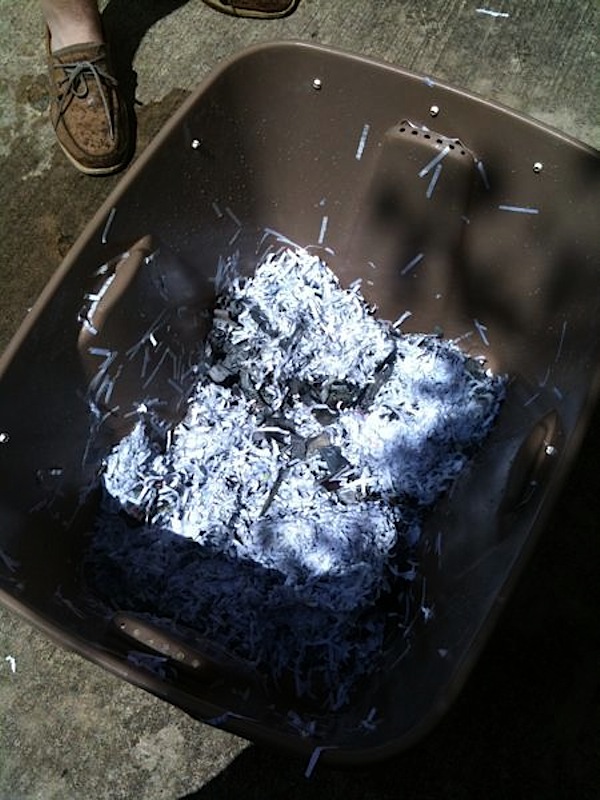
Our paper shrunk down to next to nothing, so we’ll have to do this a couple more times.
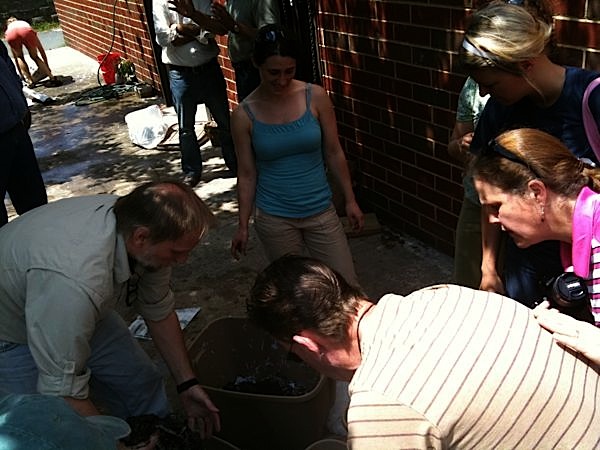
But, for today, we went ahead and got our worms. Hubby and I are now the proud of owner of like 100 worms. Ok, I don’t know how many we actually got, but it must be something like that.
Worm composting notes:
- Use shredded paper or “core” – put in water & it soaks up 5gallons water.
- Core is ground coconut shells
- Food-anything organic. Not meat or PB or oils.
- 50% moisture is for leaf composts. Squeeze rest. Squeeze & if it stays in a ball it’s good. If some water drips – too wet for leaf bin. Good for worms. Worm composts prefer 70% moisture.
- To harvest worm castings, pull compost to one side and start a new side. Worms will migrate to new side. 2-3 weeks.
- Or take lid off put light on drive worms to bottom.
- Or cut a cantaloupe in half and out halves down. 12 hrs later most worms will be in.
- Or drill holes in bottom of new bin. Nest new bin over old one & they’ll migrate up. Like can o worms.
- Water once a week if needed.
- For the first 2 days, leave the bin in a room with the lights ON and lid off. This will get the worms used to the bin and keep them from trying to crawl out.
- Storm bin inside if possible (i.e. in garage) or if outside in shade. If the bin gets too hot, it will kill the worms.
One neat thing to note about the 2 types of composts:
- Leaf composts can take 4 months to yield usable compost
- Worm bins can take 4-6 weeks!!!
I’m planning to set up and maintain both, so I’ll keep you in the loop of how my bins turn out.
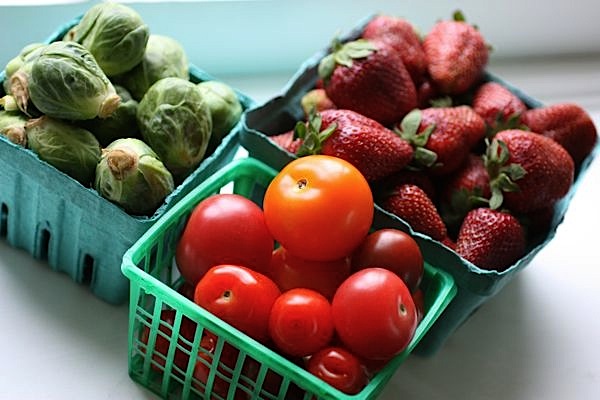
After composting class, hubby and I hit up the farmer’s market. We got some brussels sprouts, SC strawberries and gourmet tomatoes.
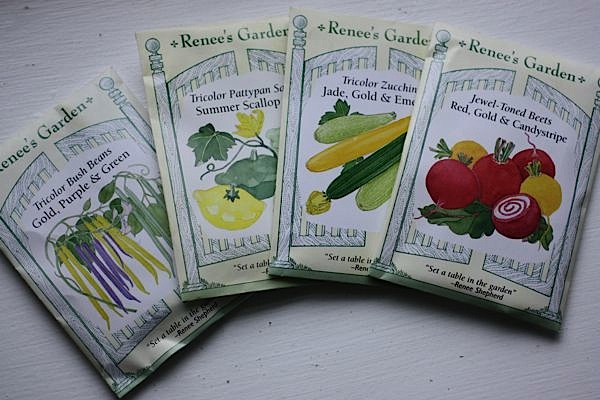
We also picked up some neat seeds. I went out of my way to find heirloom and non-GMO seeds…not to mention I was looking for some more unusual veggies. I was hoping the squash would fit in one of the corners of my square foot garden but upon addition research, I realized it’s just not going to fit. I’m hoping to possibly set up another bin just for squash…maybe a 2’x8′ bin?
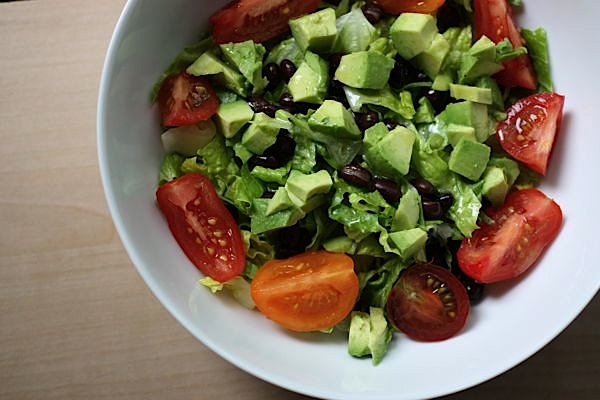
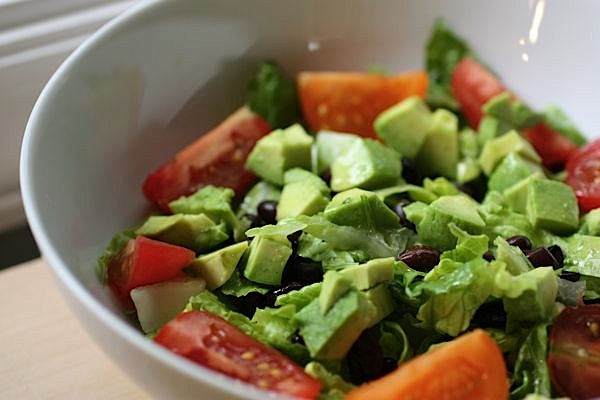
I used some of the farmers market tomatoes along with some organic romaine, organic avocado, and black beans for protein for a lunch salad, topped with a quickly thrown together lime vinaigrette. It wasn’t that great (dressing) so I won’t bother sharing.

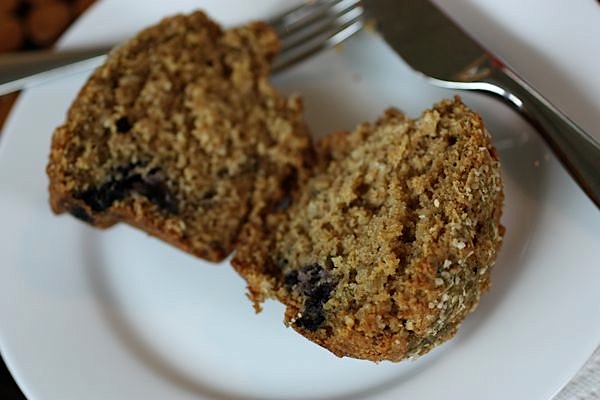
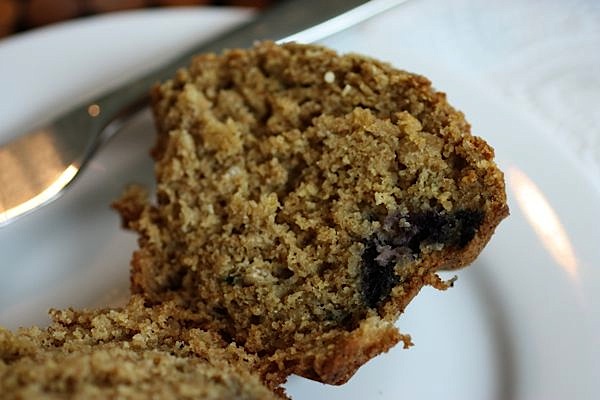
Plus, I had a Great Harvest berry oat bran muffin. Gosh these things are delish! I think I even prefer the heartier grains to traditional muffins made with white flour. I am turning into my dad! 😆
Garden Update
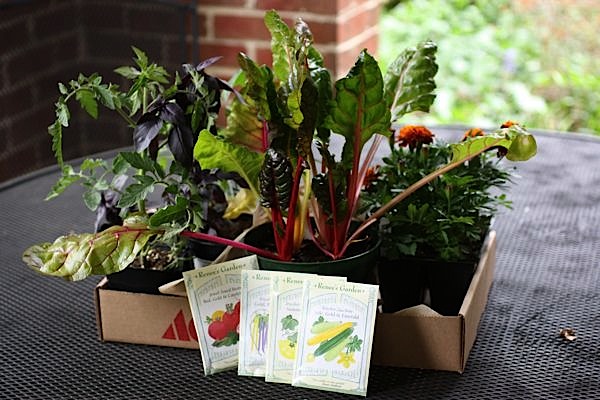
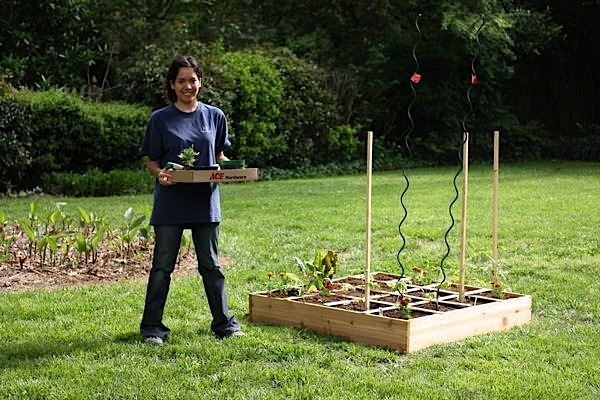
Here are the plants I picked out with my mom yesterday after work: swiss chard, red pepper, cilantro, basil, and more marigolds.
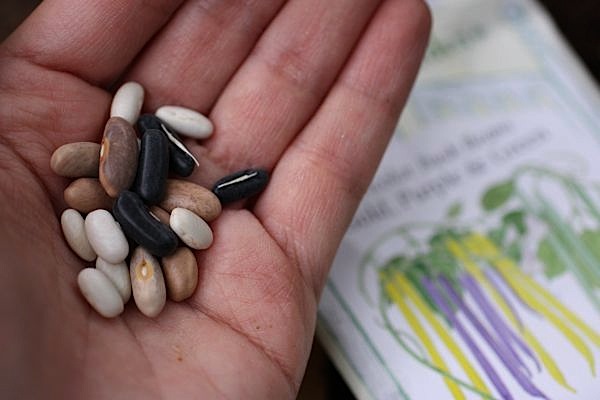
I went ahead and planted some bush green beans in one square foot of my garden.
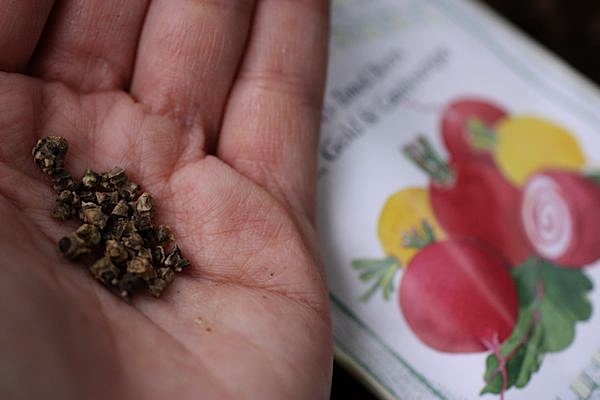
I also added a couple beet seeds in between since I read online beets are a good companion for bush beans (but not pole beans). Not sure how that’s gonna work out, but we’ll find out I suppose.
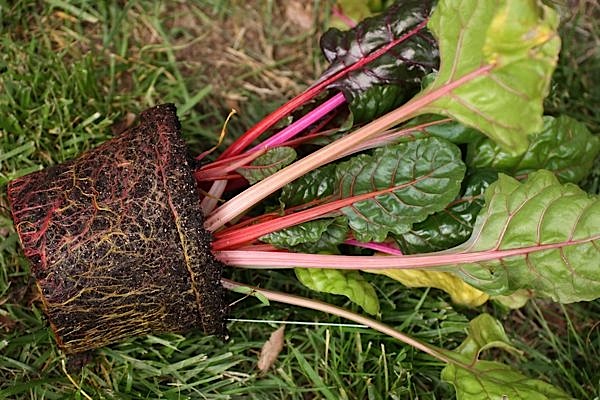
I noticed something interesting when I went to plant the chard.
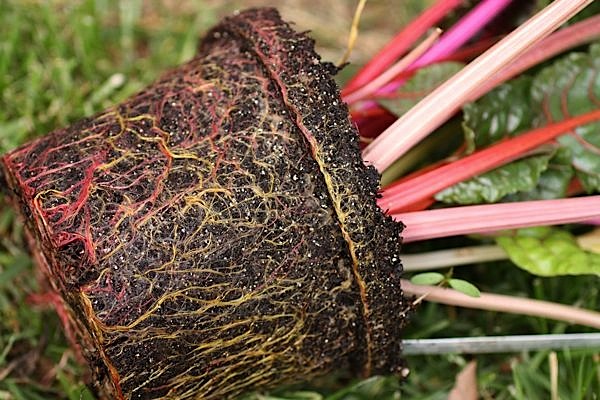
Even the roots are brightly colored!!
The garden shops have been telling me not to plant chard yet, but yet they have the seedlings started! They said I may get a month’s worth of chard, so I figured I’m willing to take that risk. Supposedly, the plant won’t die when it gets hot, they just won’t produce much till it gets cold again. I’ve been running out of ideas for summer veggies that aren’t large, so I think we’ll be ok.

Here’s my updated garden. I still have 3 boxes empty. I think I’m going to plant more bush beans and maybe some herbs. It seems like lots of herbs are good at deterring pests, too!
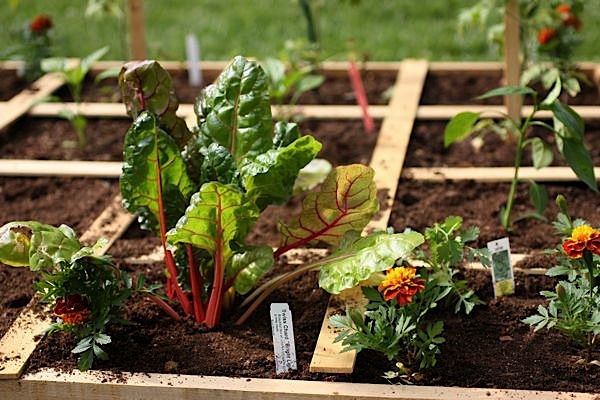
Pretty veggies!
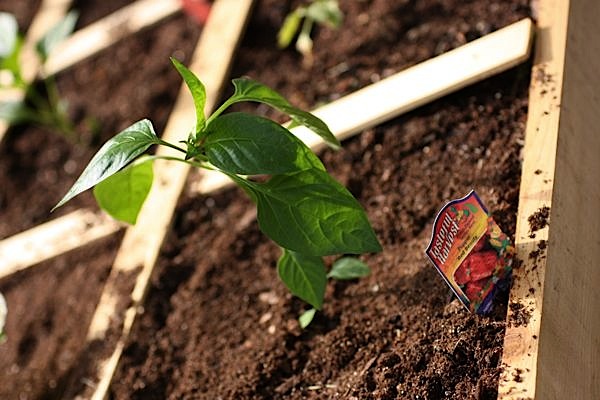
Bell pepper planted.
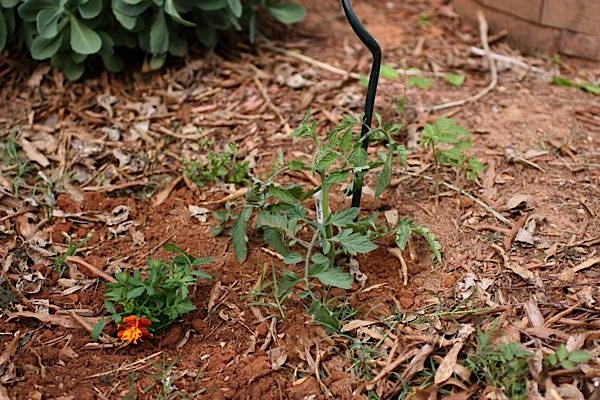
I also planted a new tomato in the center area of our yard. The dirt here is not Mel’s mix…it looks to be Carolina clay, so I’m not sure it’s going to work, but I figured it wouldn’t hurt to try. Here, I added a Green Zebra tomato plant (these look so cool!) and a marigold. I heard rabbits don’t like marigolds.
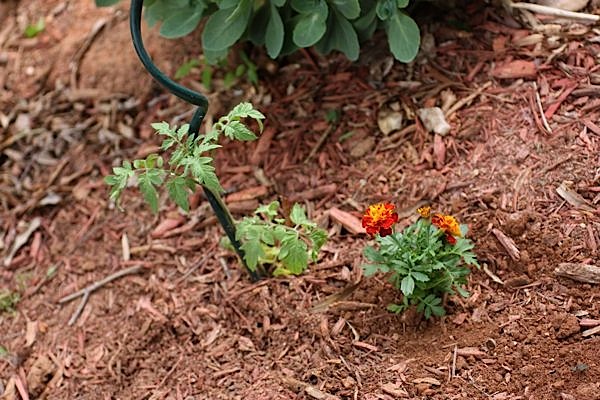
I also added a marigold in front of the other tomato plant I put in the circle a couple weeks ago.
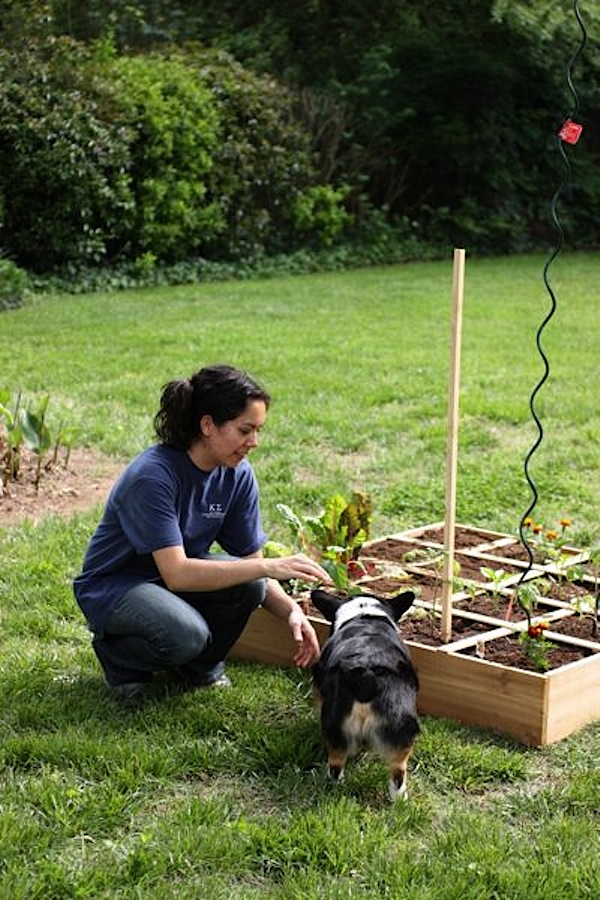

The garden is looking good! Now, if I can just keep the insects, pests, rabbits, and birds away, we’ll be doing great!

I also planted a new herb in a container pot on our porch – purple basil! I’ve never seen this before, but it looks so cool. I can’t wait to taste test it!
I totally got sucked in mystery TV shows on a semi-marathon today. Does that ever happen to you, too? I rarely sit around watching TV, but I think after the long traveling weekend last weekend and full work week, I was ready to veg out for a bit.
Reader question: Do you compost? What kind? Any composting tips you want to share?
Aww – lovely pics and post, girl!
Thanks for sharing 😀
Have a wonderful Sunday!
Brazilian XOXO´s,
Gabriela
Thanks for the composting lesson! I’ve been doing research to start my own, but wasn’t sure yet what type of bin I wanted to put it in. I like this idea!! You’re garden is looking beautiful by the way!! I love the individual boxes 😉
That muffin looks great. I love to find ones that are both tasty and healthy since some are more dessert like…which, well, have their place too 🙂
I really got to get my planting started asap. Seeing yours is a good reminder and motivation to myself.
What a great post!! We are definitely going to have a compost bin when we build our new house!
Thank you SO much for this post! Super informative. I am starting to compost right after graduation. It’s on my summer to do! =)
Great tips!
I just bought the Sq. Ft. gardening book and am going to build a box when I move to my new house (in two weeks…yay!). Did you build yours 6 inches deep like the books says or deeper?