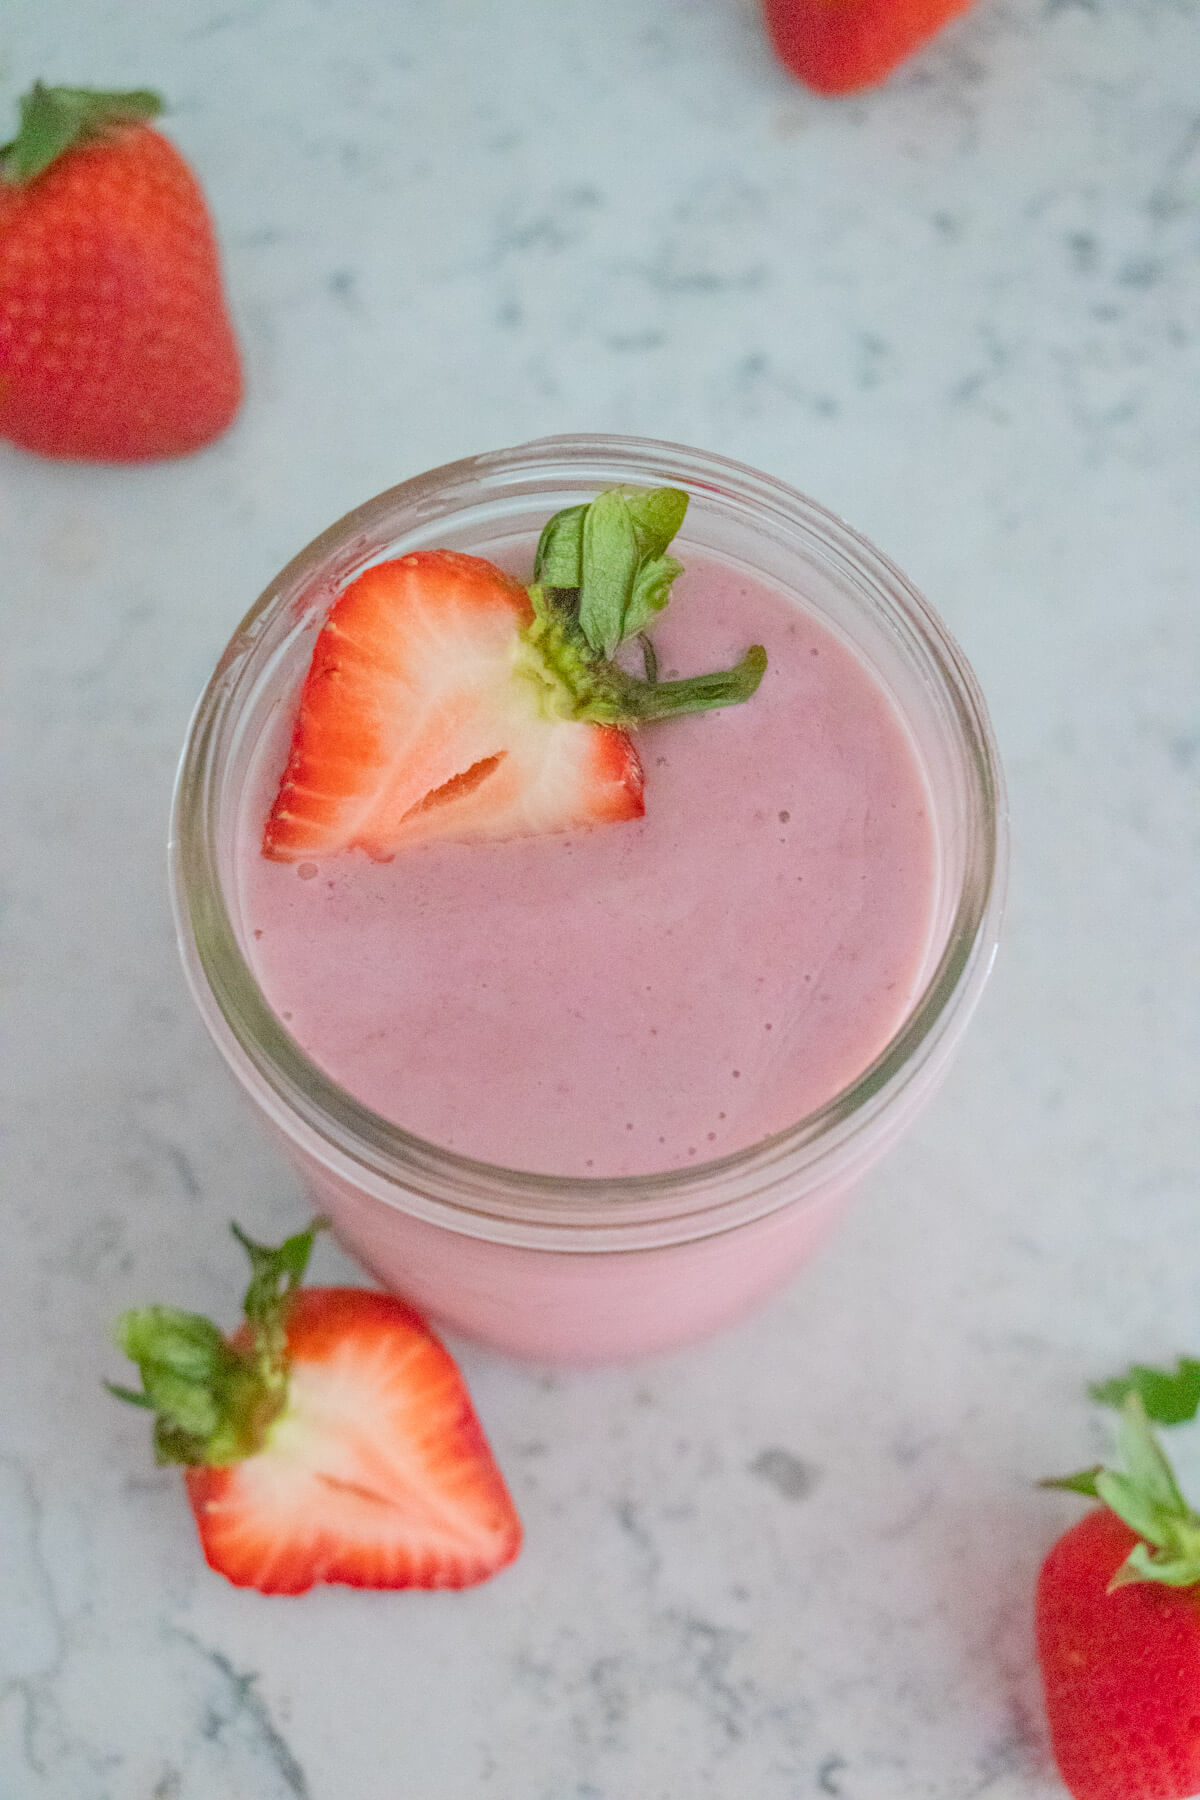
Strawberry Protein Smoothie Recipe (Without Yogurt, No Banana) +20 g Protein June 5, 2025 by Diana … Read More
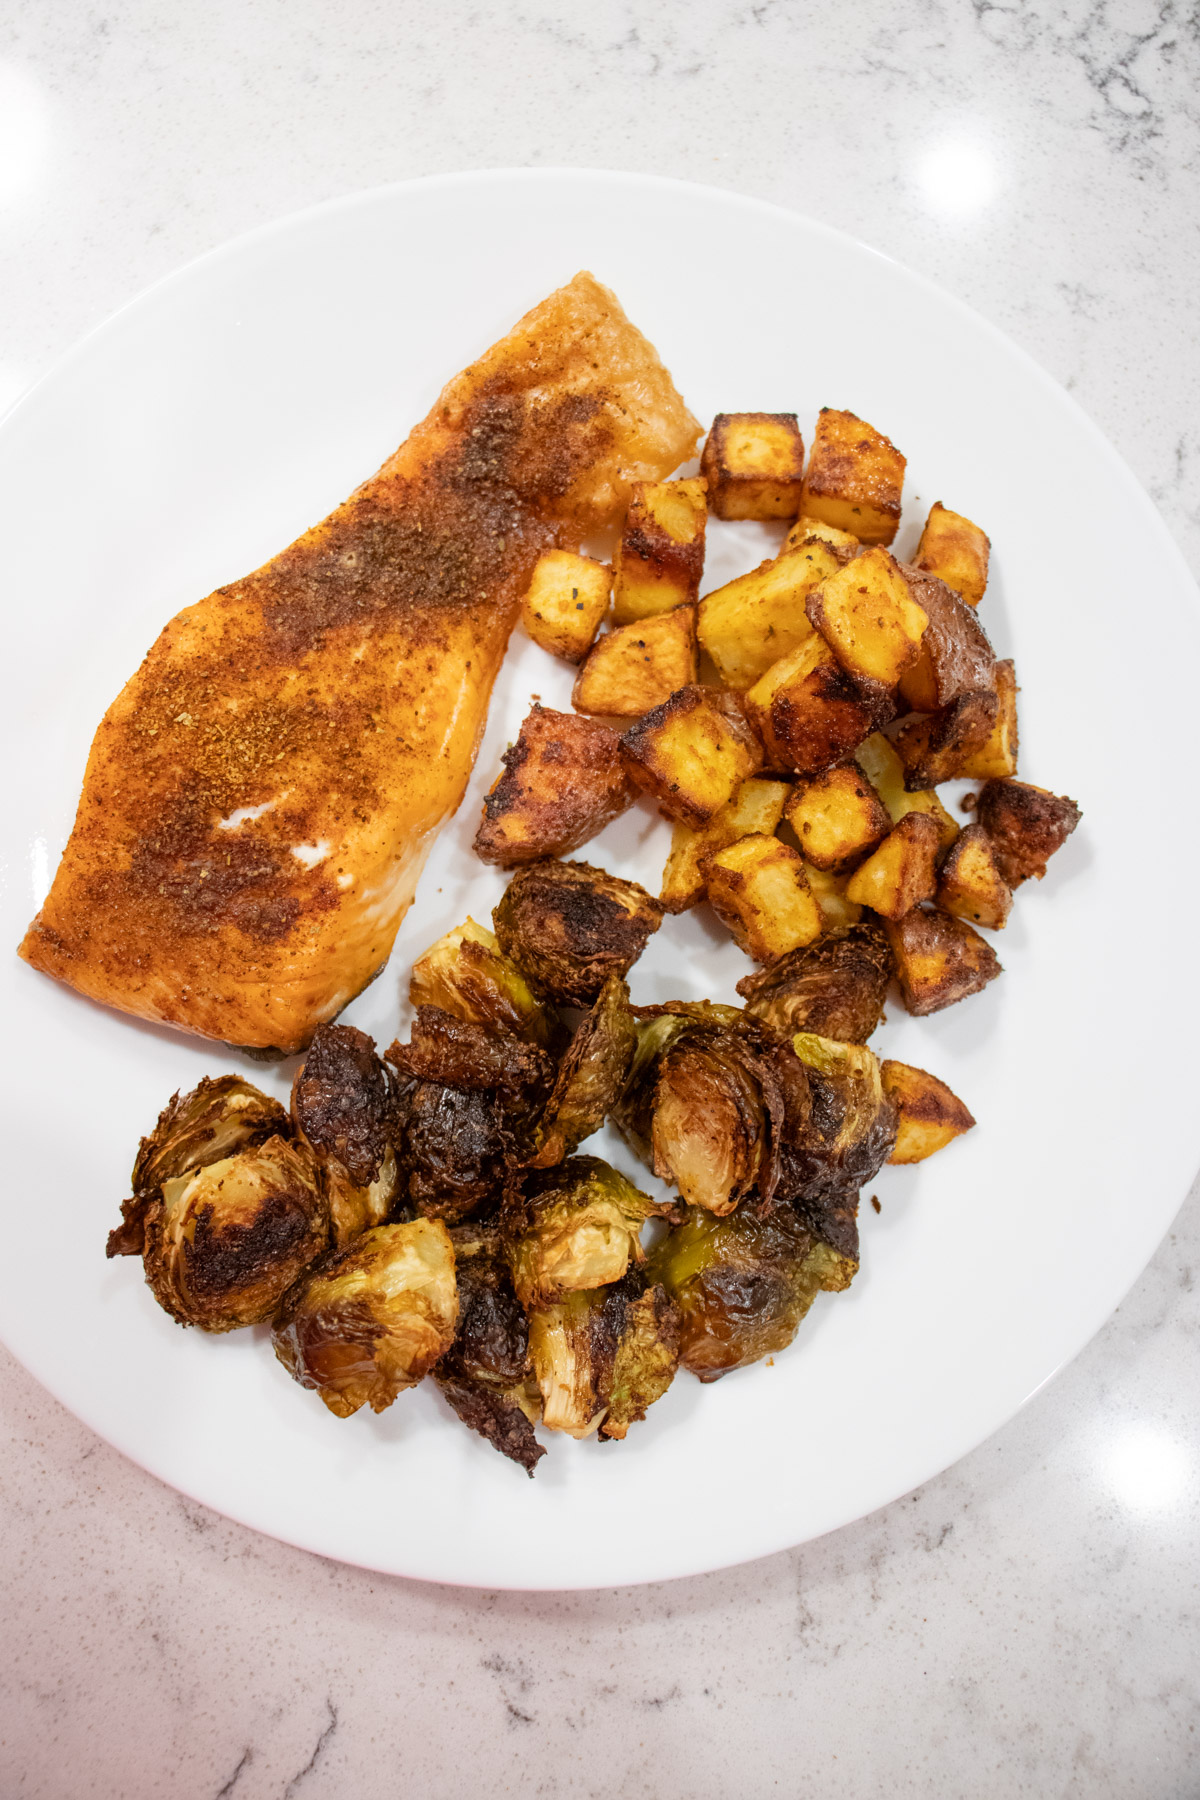
Sheet Pan Roasted Salmon, Veggies, and Potatoes (Healthy 30 Minute Dinner Idea) April 13, 2025 by Diana … Read More
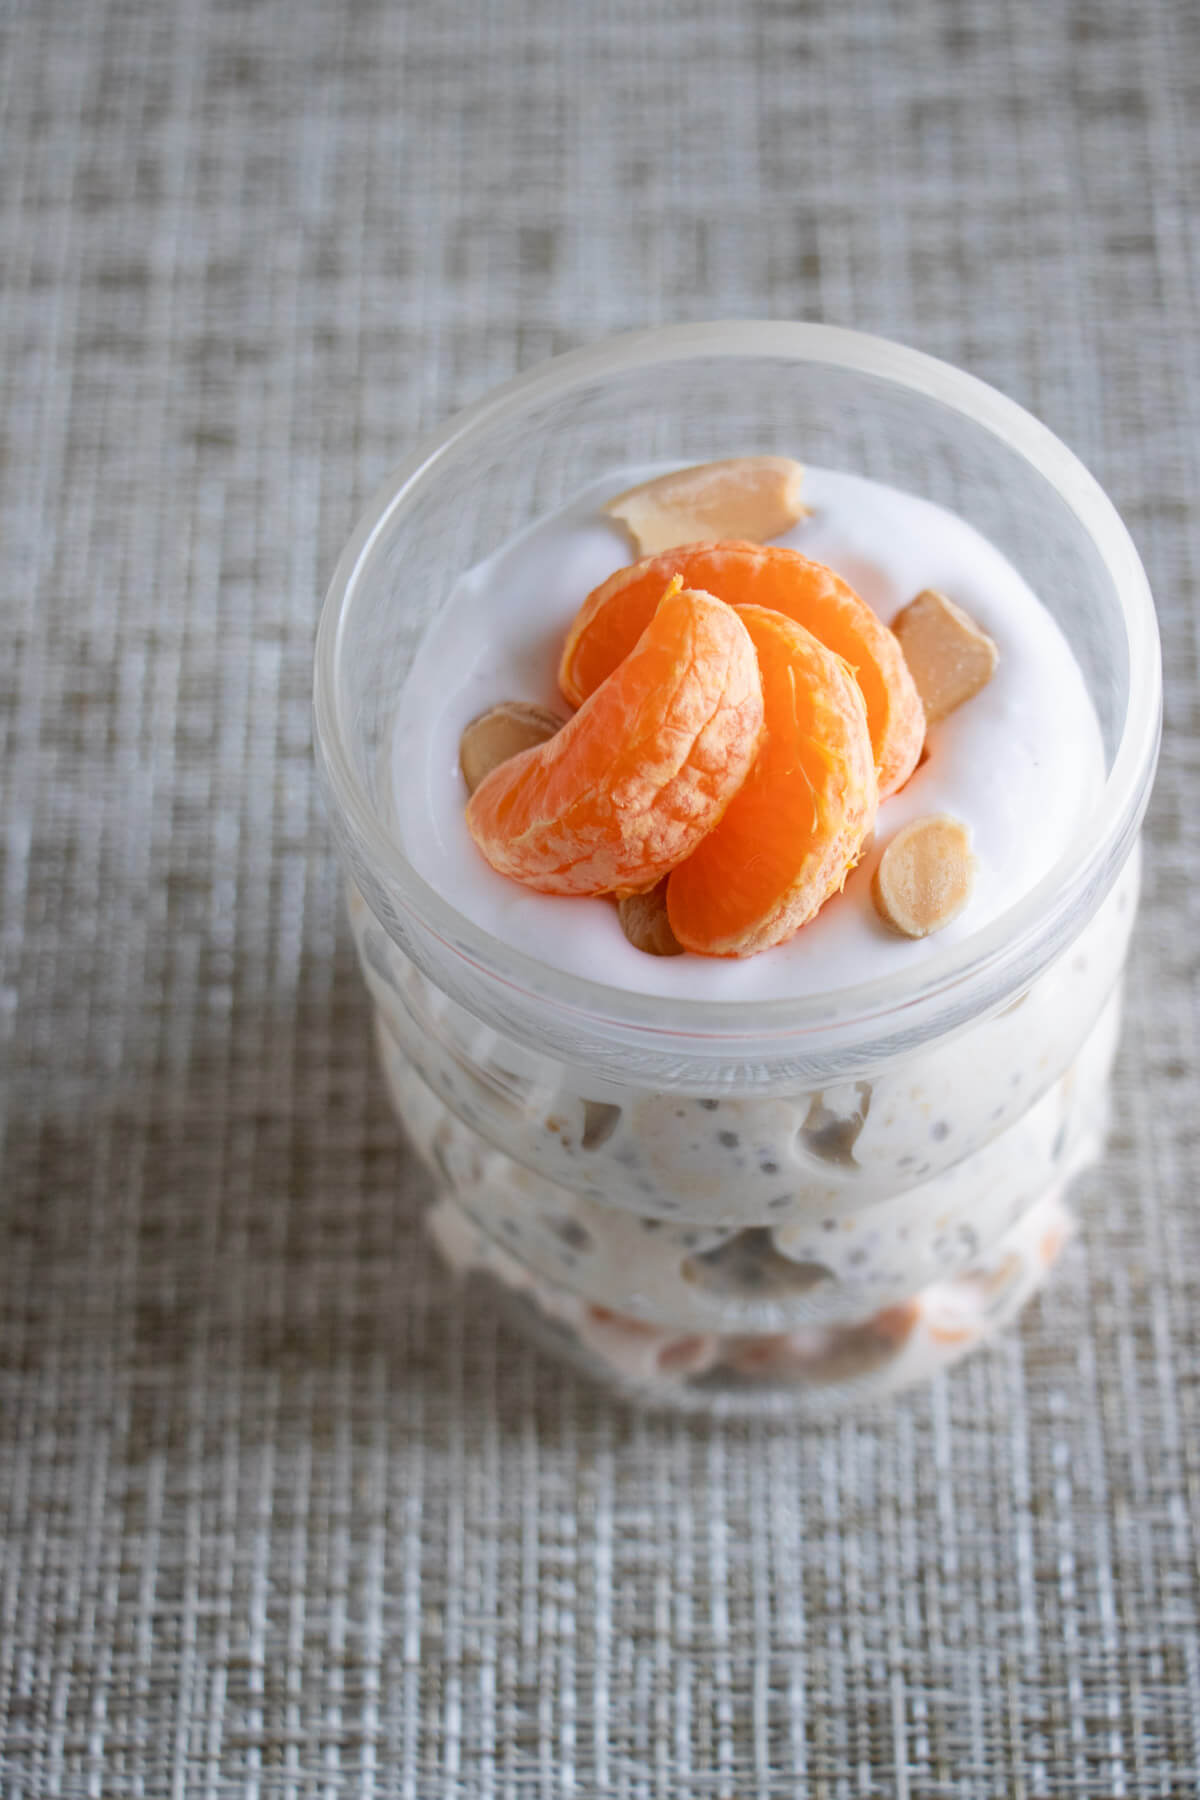
Orange Creamsicle Overnight Oats Recipe (Healthy, Vegan, No Refined Sugar) March 22, 2025 by Diana … Read More
Banana Chocolate Chip Stovetop Oatmeal Recipe (No Added Sugar!) February 7, 2025 by Diana … Read More