Skip to content
Menu
Recipe
Holiday Recipes
Breakfast
Dinner
Dessert
Vegetarian
Vegan
Gluten-Free
30 Minutes or Less
Manifestation
High Vibes
Manifestation for Beginners
How to Manifest Your Dream Life
Manifestation Techniques and Methods {For All Levels!}
Manifestation Blog Posts
Health
Clean Beauty
Beauty Blog Posts
Personal Development
Mindset
Affirmations
Quotes
Planner
New to Using a Planner? Start Here
Planner Decoration Ideas
Planner Decoration Supplies
Ultimate Planner Supplies List
Work with Me
Women’s Health Coaching
Recipe
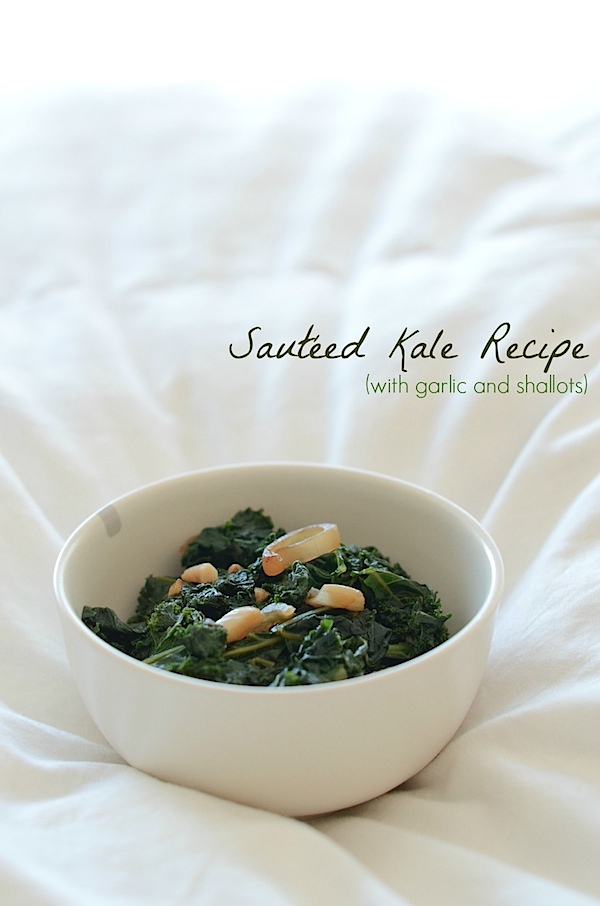
Sautéed Kale with Garlic and Shallots Recipe
February 16, 2019
January 30, 2017
by
Diana
…
Read More
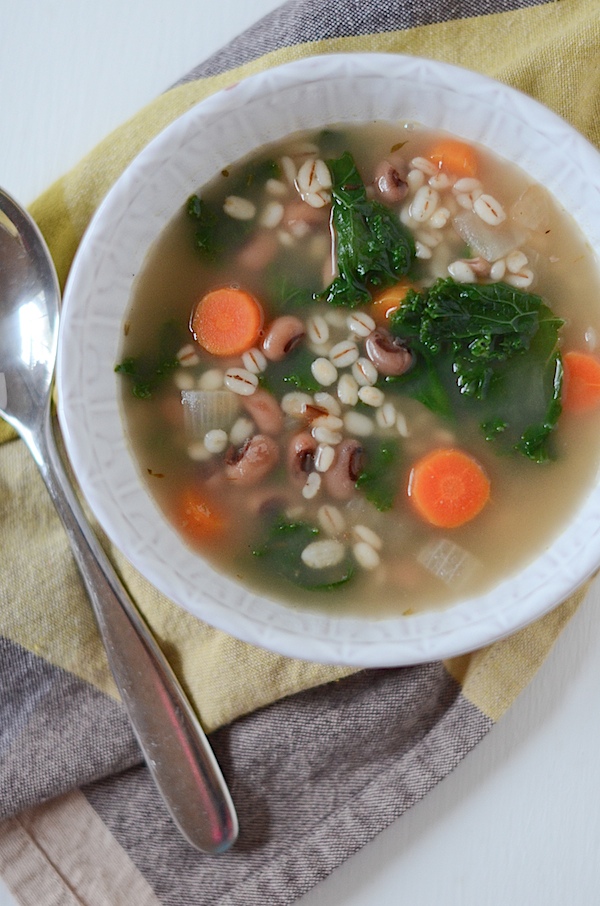
Vegetarian Barley Black Eyed Pea Soup Recipe
February 4, 2019
April 19, 2014
by
Diana
…
Read More
Healthified Slow Cooker Beef Stew {Recipe}
February 4, 2019
January 19, 2014
by
Diana
…
Read More
Top 13 TCL Recipes of 2013
January 5, 2014
January 1, 2014
by
Diana
…
Read More
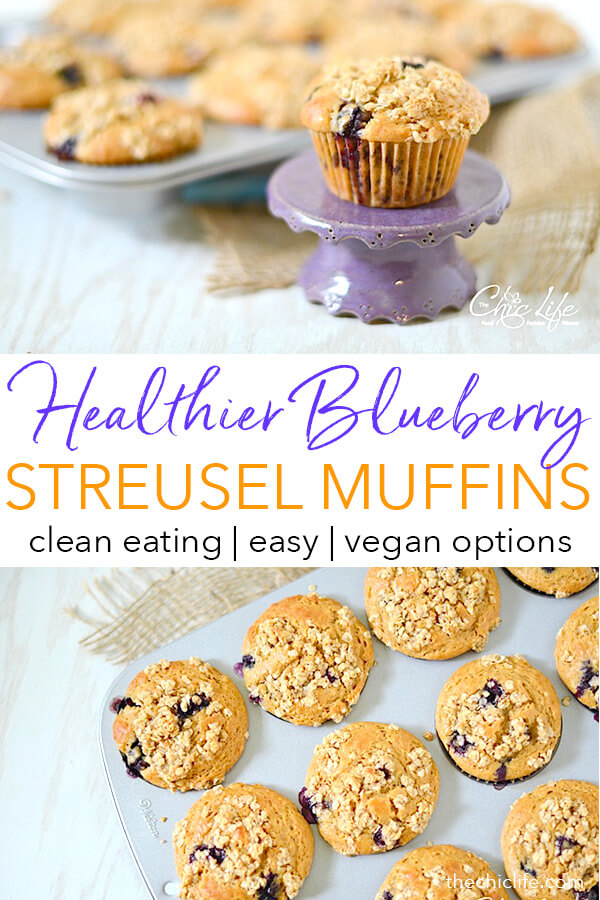
Healthier Blueberry Streusel Muffins Recipe
May 14, 2019
July 15, 2013
by
Diana
…
Read More
“Quick Recipes” Round-Up (30 Minutes & Under)
August 7, 2016
January 3, 2013
by
Diana
…
Read More
Older posts
Page
1
Page
2
…
Page
17
Next
→
Close
Home
Work with Me
1:1 Women’s Health Coaching
Blog
Recipe
Manifestation
High Vibes
Beauty
Mindset
Contact