Guess what planner lovers? I’ve been holding out on you! I am currently testing not one, but TWO new paper planners in addition to my Erin Condren vertical LifePlanner. And today, I’m sharing decorations for the first of those two new planners. Psst: they’re not all Erin Condren this time! Shocking, I know. You know how much I love my ECLPs.
So, what’s the new planner I’m testing?
Note: This post contains affiliate links. If you make a purchase from one of these links, I may make a small commission at no extra charge to you. I love and use the products recommended, but please reach out any time if you have any questions.
My New Planner
So, the first of the two new planners I’m testing is the Erin Condren LifePlanner in the horizontal layout. That’s right, I’ve gone from Team Vertical to…Team Both? Lol
For those not familiar with Erin Condren planners, the company offers multiple options. The most popular planner is the “LifePlanner”, which features weekly and monthly spreads.
The two most popular layouts are Vertical and Horizontal.
Vertical Layout
The original layout was designed so each day had a vertical column in the weekly layout, going from top to bottom.
Horizontal Layout
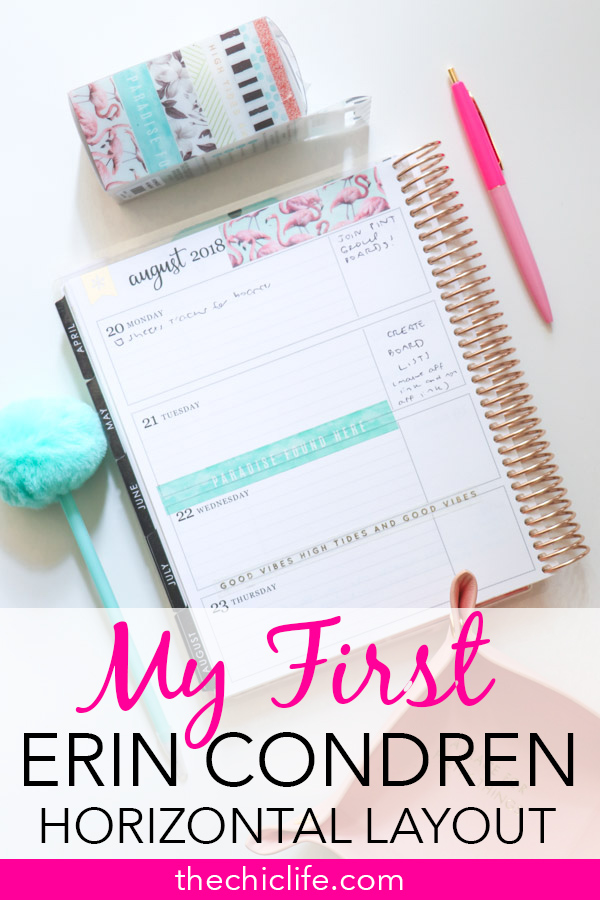
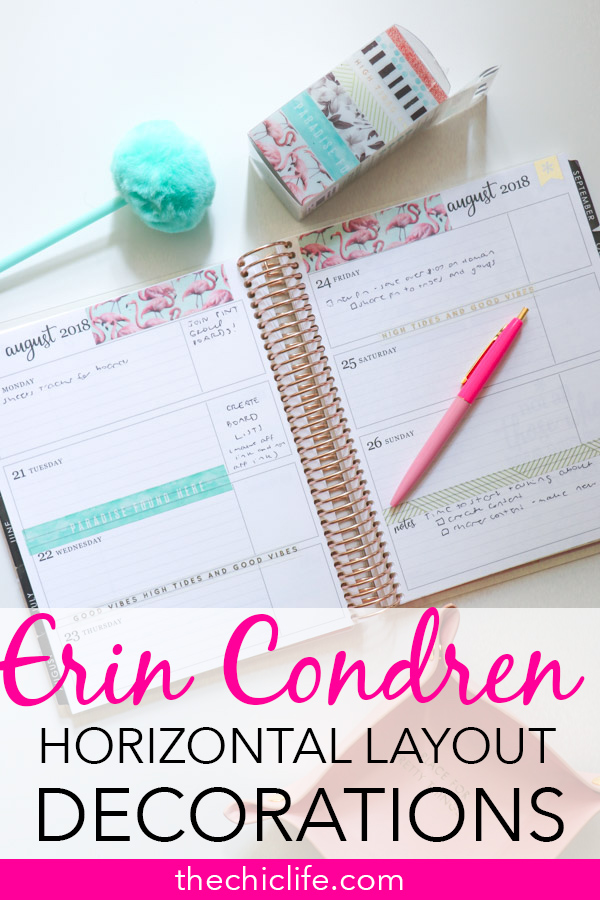
In the horizontal layout, each day has a row (instead of a column), going from left to right. You can see this below.
Other Layouts and Erin Condren Planners
Erin Condren also offers an Hourly layout in addition to academic, teacher, wedding, and monthly-only planners.
If you’re interested in planner stuff, I blog about planners a lot. You can read all about that here on my main Planner page.
My First Erin Condren Horizontal Layout & Decorations

For my first Erin Condren Horizontal Layout decorations, I didn’t put too much thought or planning into the process. This was on purpose, so the experience could be more organic, natural, and fun.
For me and planners, it’s all about the fun. I mean, it’s a planner, so it’s about organization of course. But after that…it must be fun / enjoyable. Or I’m less likely to stay with it. I believe you can organize yourself while also de-stressing and enjoying the process. Decorations help with this.
While my vertical layouts tend to be pretty structured, I went a little more free form on the horizontal layout.

Recently, I found out that Paper Source has a fantastic selection of planner supplies. And I went a little crazy. Haha. I’ll share photos of that experience soon.
For now, I ended up using one of my new sets of washi tape to decorate this week in my planner.
The washi tape set is by (I believe) Amy Tangerine. Though I tried to find it online, I couldn’t. Probably because it’s a summer style, and I think they’re moving summer inventory to make space for fall. You can click here to view their other washi tape options.
In this horizontal layout, I stuck with washi tape only and used four of the rolls from the set. The flamingos are super fun, and I love the gold High Tides and Good Vibes. Good vibes always! I love to add uplifting messages throughout my planner.
In my vertical layouts, I typically place my washi in a symmetrical way. For the horizontal layout, I was drawn to randomly placing strips of washi tape in between some of the day rows.
To keep the look simple (and also because I didn’t have anything I really wanted to draw attention to), I opted to skip on stickers. This is also because I currently don’t have access to my full sticker supplies. But hey, I’m still happy with the result. It’s simple, but I like it. It added just enough color to make me smile.
More Planner Ideas
There are SO many great posts and pages on The Chic Life to give you ideas and inspiration for your planner. And lots more coming.
You can see my latest planner-related blog posts here
And tips for planner decoration ideas, supplies, and everything else can be found here
***
Thanks for reading! Hope you enjoyed this post on My First Erin Condren LifePlanner Horizontal Layout for the week of August 20, 2018. Cheers!
