We bought an old house. I think our bathrooms may be original from the 50’s. Just guessing. The cabinets and tile sure look to be old enough.
As a result, our bathrooms are kind of…dingy-looking.
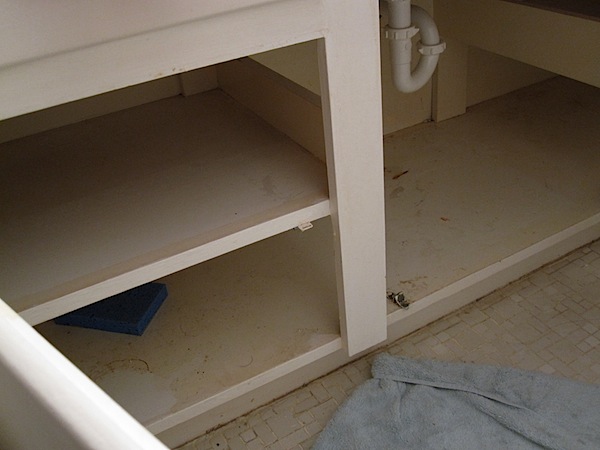
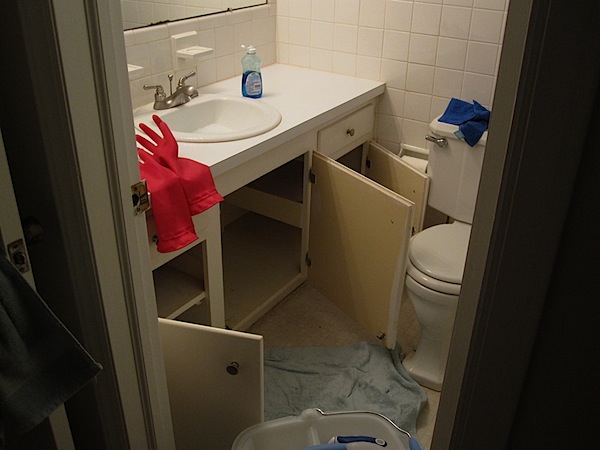
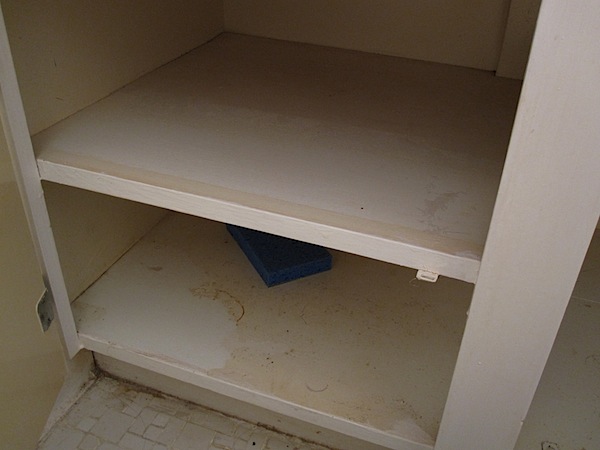
Clean as I may, I think there are some stains inside the cabinets that won’t come out after so many years. I decided I needed to do something about fixing the stains inside the bathroom cabinets.
I spent Friday night cleaning the cabinets with warm soapy water, a sponge, and my hot pink rubber gloves.
After giving them proper time to dry over the weekend, I was ready to give my guest bathroom cabinets a mini-makeover today.
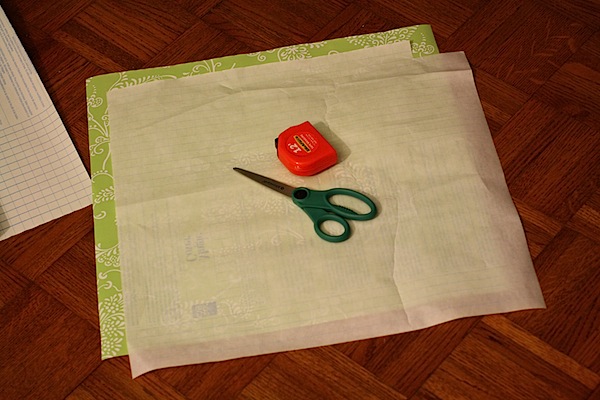
I found some cute cabinet lining with an adhesive backing at Target.
I like this adhesive-backed version (as compared to the cushion-y but non-adhesive version) because you get a pretty good amount of the lining and the back has a grid printed on it to help you cut straight lines.
After dinner tonight, I decided to tackle the rest of my bathroom cabinet mini makeover project so I can start using our guest bathroom for storage.
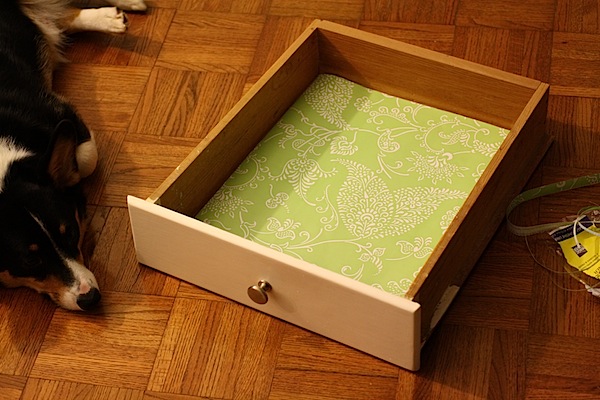
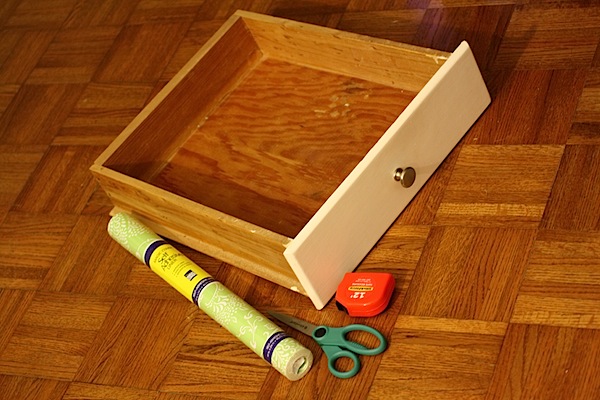
I started with the cabinet drawers, but didn’t use the adhesive on them since the directions said to put a coating of varnish down first if you’re using raw wood. Not sure why that’s necessary, but the interior of my cabinet drawers definitely appears to be raw wood. I may try to pick up some varnish later this week or I may just stick the contact paper down without it (such a rebel, I know!).
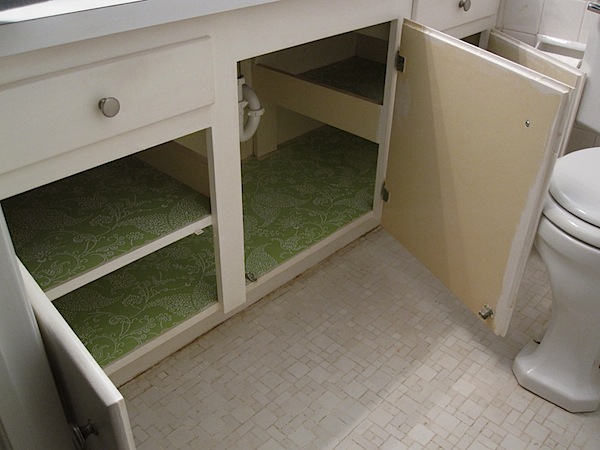
The cabinets were pretty easy to line.
Once I had one side done, I basically had a template to use to do the others.
Though the paper was definitely adhesive on the back, it wasn’t quite as sticky as I expected. I thought the cabinets may be nearly impossible to line properly since it was hard to maneuver in the cabinets and I was worried that once the paper hit the cabinets it would be permanent, but I had some flexibility. Not sure if just happens to be related to the finish inside my cabinets, but I was able to stick down my paper and pick it back up and adjust fairly easily. Thank goodness, too!
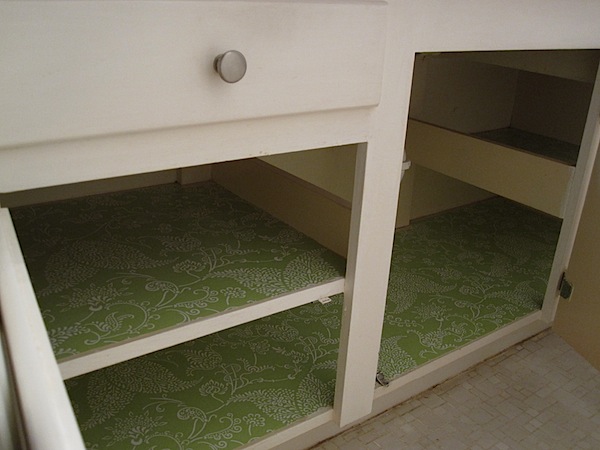
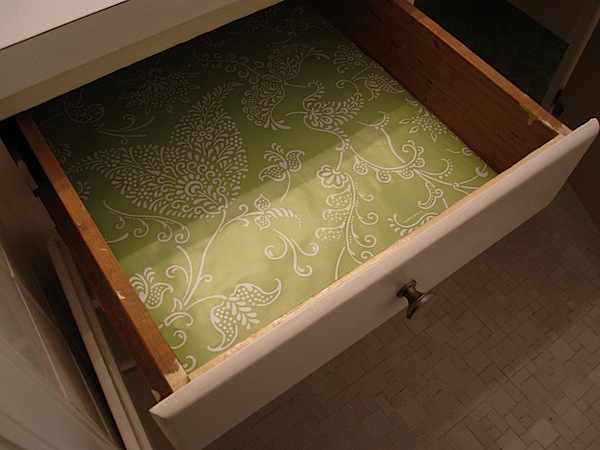
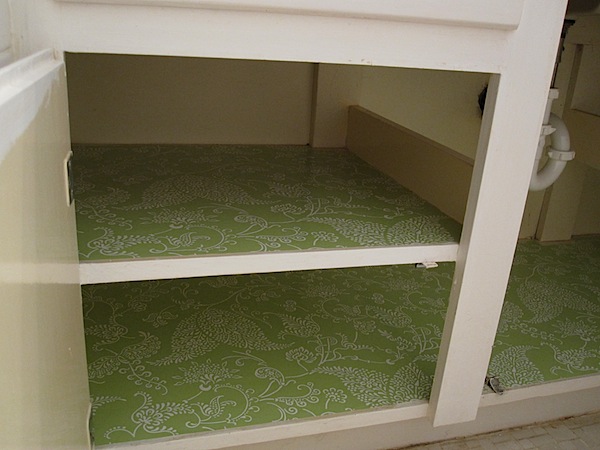
I have to say, I’m LOVING the finished product – such an improvement!
Now, I need to tackle the bathroom tiles…Oi!
Great Job!
Due to my husband's job, I've moved more times than I care to count! Here's some 2 earth/allergy friendly tips for your next bathroom projects: vinegar or rubbing alcohol will leave a surface ready for liner and bar keepers friend can make your tile and grout look new(wash with vinegar water when finished). Good luck.
i am LOVING the pattern on your lining. so cute, and it really brightens up the insides of the cabints/drawers. you are so crafty!! love it!!!
Another suggestion….Ive used old shower curtains as liners in bathroom cabinets and drawers. They wipe clean with a damp cloth and already match the interior of your bathroom.
—
Thanks and Regards
Stacey from NY Mobile
storage
That looks awesome and is very inspiring. I am writing this on my list of things to do.