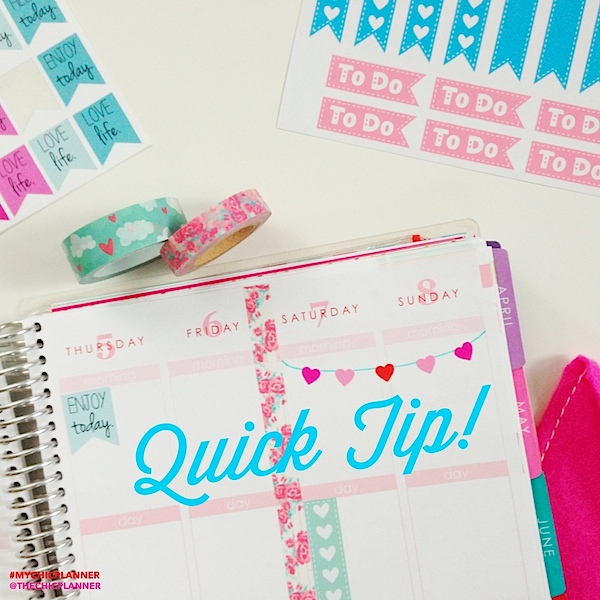
Here’s a Quick Planner Tip for my planner friends out there who love to decorate their weekly and monthly spreads. I love getting cute weekend banner stickers on Etsy, but I also like to switch things up by making my own with various materials, like washi tape.
How to Make a DIY Weekend Banner with Stickers
Simply draw a curved line across the weekend days of your planner as pictured above. Evenly spread small stickers of choice across the line. I used tiny hearts from a sticker book I picked up at Target. Naturally, you could use any small sticker, like circles, stars, etc. To make the spacing pretty even, I placed the center heart first and spread the others out from there.
I just added five stickers to be decorative, but I could have added enough to spell out “weekend”. Of course, you can spell out any word of choice or make a non-weekend banner, too. You could do one for a special event, holiday, etc. Use a fine-tip permanent marker to write a letter on each sticker or place a letter sticker on top of your shape sticker.
Have fun making your DIY Weekend Banner with Stickers. The possibilities are truly endless!
More Planner Ideas
Click here to learn how to make a DIY Weekend Banner with washi tape
Click here to view photos of my planner layouts
Bookmark my main Planner page so you can get tons of links for more planner inspiration
Thanks for stopping by!


Cool! Never knew it would be this easy to make a simple banner with a sticker! Thanks for sharing! Maybe I can make this in a notebook and give it to my baby girl! XD
U guys are awesome!