I hinted I was experimenting with dough balls today on twitter, but you probably didn’t see this coming!
Taking dough balls to another level…literally. Details further down…
FIrst off…it snowed today! I can’t believe it’s already snowed twice before Christmas this year…that doesn’t usually happen here in the South. The snow didn’t end up sticking. I’m hoping for a good snow storm in January or February though. 🙂
The snowy day was perfect for baking!
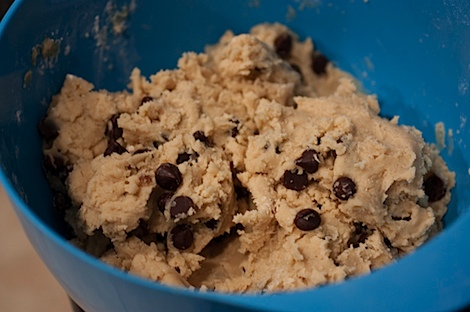
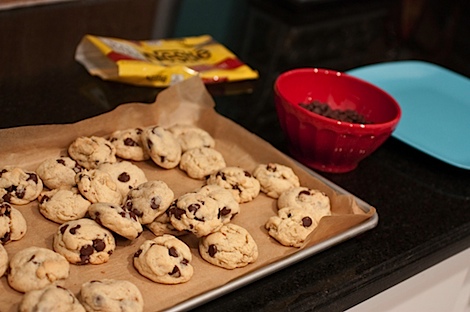
I made dough balls for a party later.
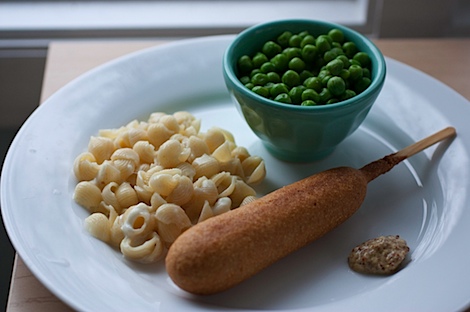
While the dough chilled, hubby and I threw together a quick meal of soy corn dogs, peas, and…
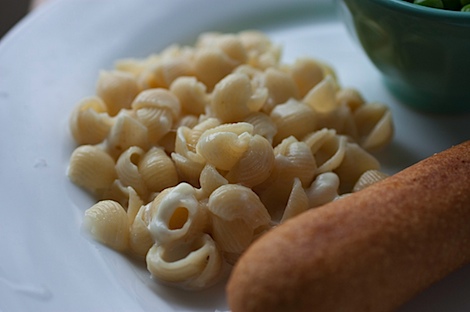
…mac and cheese.
Then it was time to get my dough ball on…
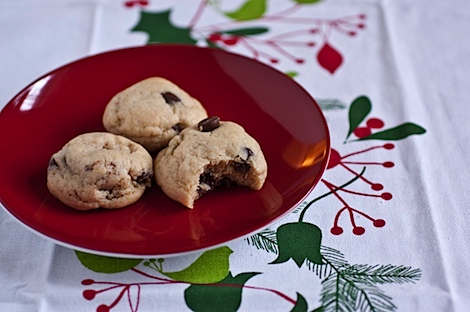
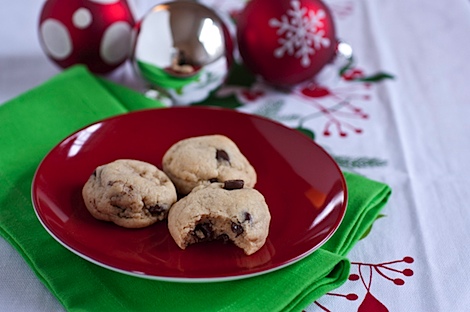
…I mean…make sure the dough balls were cooked properly. Yeaaaa. 😉
Snow days are also good for hot tea. Ginger tea for me this afternoon.
Yogi tea quote of the day: “Uplift everybody and uplift yourself.“
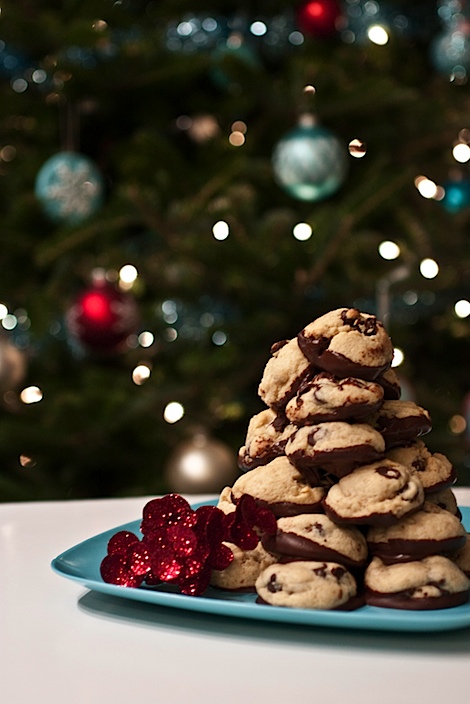
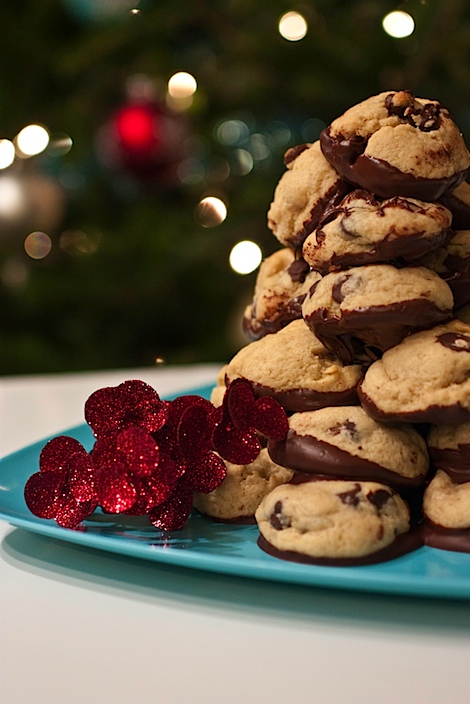
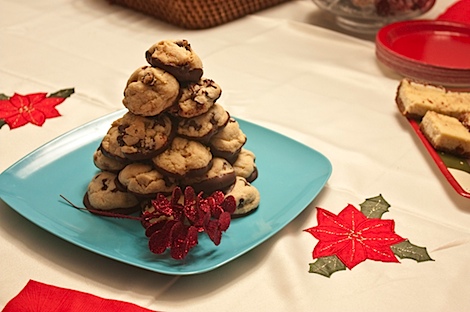
So, what do you get when you combine a tray of chocolate chip cookie dough balls (click for recipe) and melted chocolate?
You get a Pâtembouche!
Ever since seeing the fabulous croquemcake on Willow Bird Baking, I’ve been wanting to try a croquembouche. I haven’t quite gotten around to this baking project just yet, but I did come up with another idea. What else is round and could be stacked into a tower? Dough balls, of course!
So why “pâtembouche”? Well, croquembouche means “crunch in the mouth” and dough balls are not crunchy. But, “pate” is French for dough, so literally a “patembouche” is “dough in the mouth.” I think I actually like “cookie dough ball tower” better, but pâtembouche sounds more fancy. 😉
PS I just googled “pâtembouche” and there are no search results. I just made up a word…yay! lol
To Assemble Your Pâtembouche
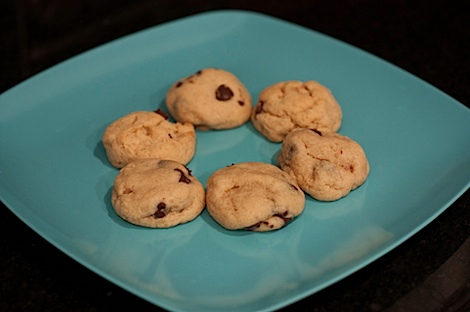
Step 1: Bake a double batch of chocolate chip dough balls
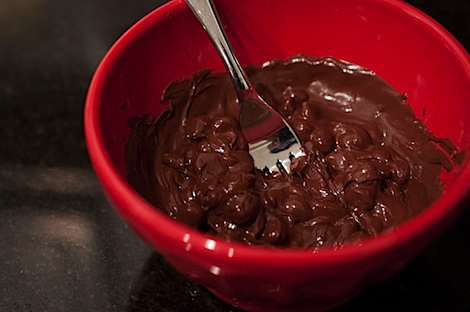
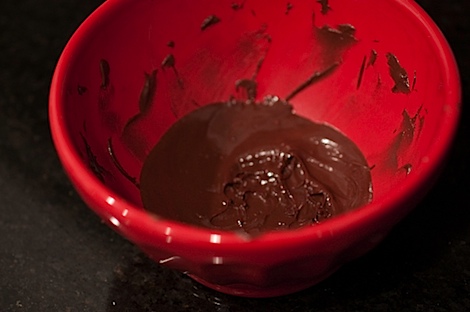
Step 2: Melt remainder of bag of semi-sweet morsels (leftover from the 1 cup removed for the recipe) in the microwave in 30 second intervals, stirring between each interval until chocolate is smooth and melted.
Step 3: Play with your food. I played around stacking my pâtembouche sans chocolate to see how I wanted it to stack. Once I had a strategy for creating the tower, I was ready to go.
Step 4: Outline the foundation circle. I used the largest, flattest dough balls for this layer. I used 6 and spread them into a circle with the dough balls just touching.
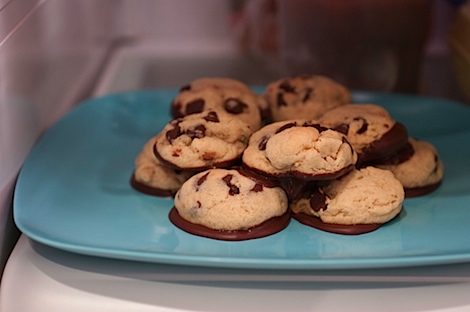
Step 5: Begin dipping the dough balls into the melted chocolate and carefully place onto plate to “glue” into place. Continue with bottom layer. Continue with a second layer. I used one less dough ball than the previous level as I went up.
NOTE: Don’t be too skimpy with the chocolate after the first layer. The chocolate is your glue and if you don’t use enough, the dough balls won’t set into place as easily.
Step 6: In between stacking layers, place pâtembouche into the fridge to allow the chocolate to set.
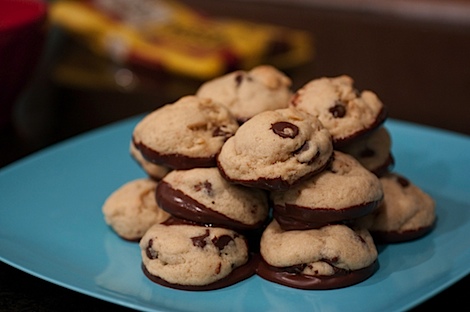
Step 7: Continue dipping dough balls and stacking, slowly tapering as you increase each level till you just have one dough ball on top. Remember to repeat Step 6 to help dough ball structure set.
Eventually you will have this!
Not only is it delicious, but it makes for a pretty cool display too. I think this pâtembouche would be an easy and impressive treat to take to your next special event, if you’re looking for ideas.
I think I know what I’m going to do with the leftover chocolate too. 😉
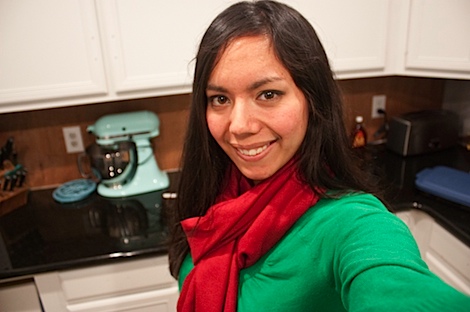
After finishing my pâtembouche, I got dressed and put on make-up to head out for two parties.
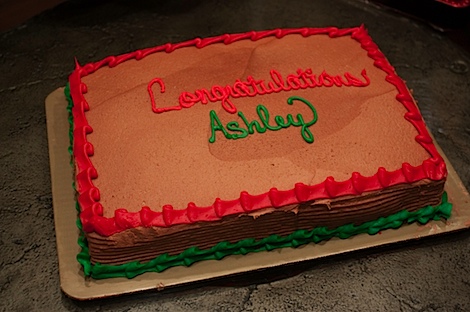
The first party was to celebrate our friend Ashley’s latest achievement – completing all of her actuary exams. Go Ashley!
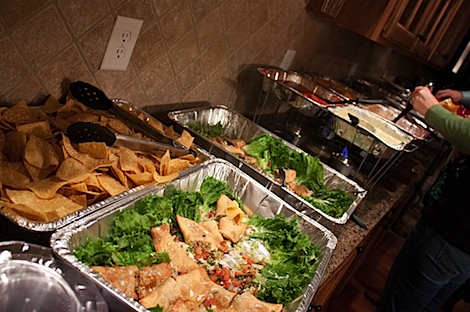
Ashley’s friends set up a surprise party at her house complete with a Mexican buffet from her favorite local Mexican restaurant – Salsa’s.
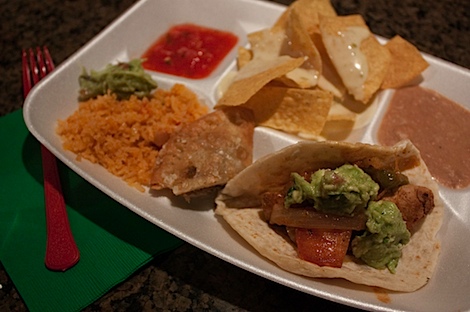
I found a neat compartmentalized plate, perfect for the girl who doesn’t like her food to touch. lol
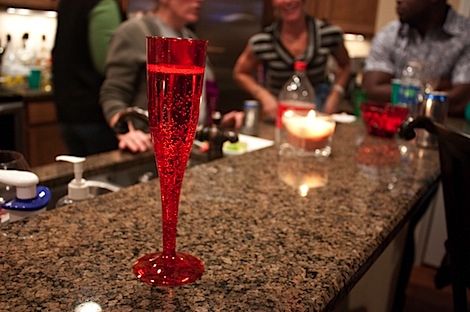
After the champagne toast…
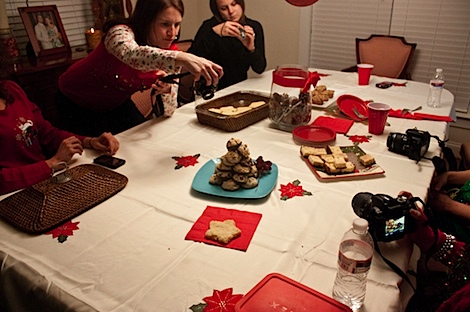
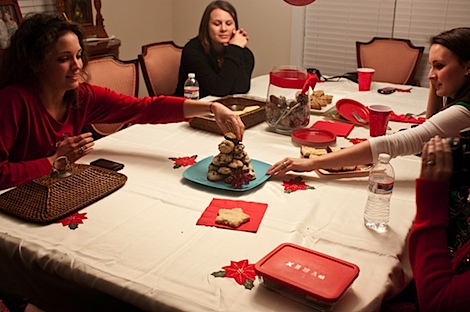
…we headed to Jen and Jeff’s house for a bloggie pot luck.
I debuted my pâtembouche.
Digging in. I was hoping to not have to bring any dough balls home. Luckily, this turned out to not be a problem.
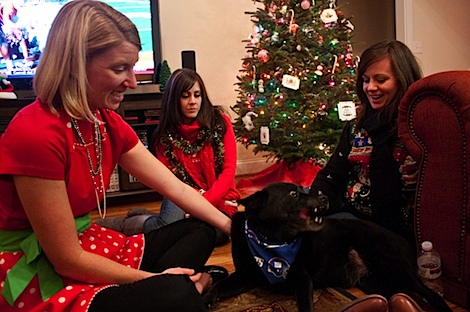
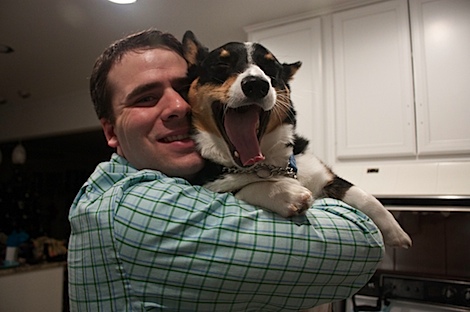
Jen’s dog was a ball of fun.
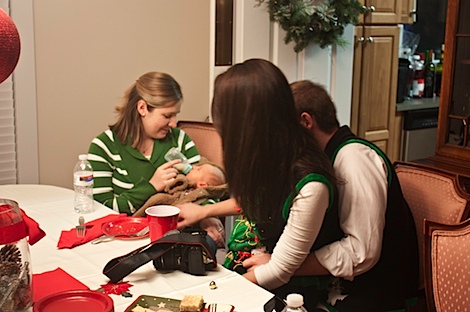
Ooh and I even got to meet baby Liam. What a cutie pie?! I think I need some more QT with him!
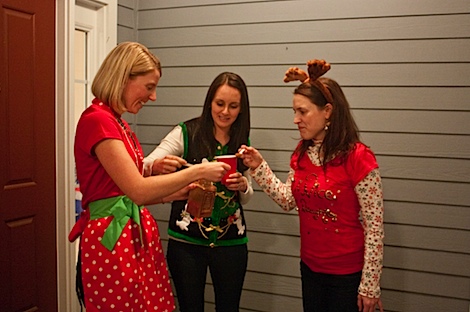
Don’t you love Caitlin and Kristien’s matching Christmas sweaters?
Oh and what party isn’t complete without a fun challenge.
Jen, Caitlin, and Nicole took the Cinnamon Challenge. Check out this funny youtube video of general cinnamon challenges (not ours). We didn’t have anything that dramatic happen, but it was fun. 🙂
Nicole is the cinnamon challenge champ! Woohoo!
It’s sleepy time in the Chic house. G’night! 🙂






Diana, this is TOO ADORABLE!! I love your idea and your new word! 🙂 Awesome work, Roomie!
Thanks Roomie!! 🙂
You seriously are a doughball knockout! I am so impressed and making this ASAP!
Good for you inventing a new word ;). Great idea to make a tower out of dough balls! Looks pretty :).
such a cute idea! they’re like profiteroles only these ones taste good!.. (i don’t like profiteroles!
Oh I love this idea! Looks like a great time was had by all as well. 🙂
that cookie dough looks yum…christmas makes me think of families…glad US is celebrating Christmas, too 🙂
Love your new creation! I’m glad it doesn’t translate to “balls in the mouth” or I have a feeling you would have gotten a lot of not-so-sweet search results!
Yes, I definitely thought through my word options carefully. lol 🙂
It looks like you had a fun time at the Christmas party! The cookie dough tower is a cute idea for Holiday get togethers 🙂 It looks pretty impressive too! xoxo
It’s totally one of those things that’s easier than it looks. 🙂 Happy Holidays!
Would you believe I still haven’t made my first batch of balls? I have to get on that. Your patembouche looks terrific! What a fun idea to take cookies to the next level.
Evan, I do not believe that! It’s time for you to bake up a batch! Glad you like my patembouche! 🙂 Happy Holidays!
Way to make up a word…it totally sounds legit to me! I seriously want to try the cinnamon challenge – what a dork, right? Hey, you call something a challenge and you best bet I’m down!
Those cookies look amazing, but I really want that little red bowl. Were did you get it ? 🙂
The red bowl is from Anthropologie. 🙂
Looks like a great time! and nice too see there are others that do not like their foods to touch 🙂
You too!? I thought I was one of few. There should be a name for people like us. lol There are some foods I’m ok with touching, but usually I prefer them apart. 🙂
how impressive!!
OH MY! That looks AWESOME!!!
Beautiful! I love it!
Yum, this looks heavenly!
Nice spin on the dough balls… I absolutely love the tower!! 🙂
Nicely done on the stack of dough balls! That dish looks so yummy and pretty!
Oooooohhh! I LOVE the tower. I was already going to make cookie dough balls for a party tonight and when I saw this post this morning I was like… “I have to try this!” I get so many good ideas from you! Thanks, Diana! Hope you are starting to have some relaxing vacation time, finally! Merry Christmas!
Liz
You’re welcome Liz! Glad the dough ball tower worked out for you! 🙂 Merry Christmas!