Oh kale chips, where have you been all my life? And why did I wait nearly 30 years to eat you? Read on for my Easy Kale Chips Recipe so you can experience this tasty snack.
I was first introduced to kale chips by my friend Kath of Kath Eats. I’d eaten potato chips before, sure, but chips made out of…a leafy green vegetable? Impossible! Or was it?

It turns out kale chips are incredibly easy to make and require few ingredients. Not only that, but when your kale is limping along on its last legs, you can crisp them right up with some QT in the oven. Score! Keep reading for my best tips for this Easy Kale Chips Recipe.
Kale Varieties & The Best One to Use: Over time, I’ve experimented with various elements of kale chip baking. I’ve tried different baking temperatures and times. I’ve even tested out a few varieties of kale: curly kale, “dinosaur” kale, and purple kale. My favorite and preferred variety of kale for kale chips is curly kale. In fact, I’ve used this very same preparation method for the purple kale and it turned out horribly. Stick with the curly kale for this recipe. Dinosaur kale is my next best choice, though.
Measuring the Oil: I’ve also found that the amount of kale in each “bunch” varies quite a bit, so it’s hard to provide an exact measurement of oil to use for “one bunch of kale”. I’ve seen small bunches, HUGE bunches, various leaf sizes, etc. Sure, you could provide a measurement of oil per cups-of-kale, but if you’re wanting to turn a bunch into kale chips (without leaving any stray leaves behind), the best way to measure the oil is to place your prepped kale leaves in a wide pile on you baking sheet (or if you’re not feeling lazy, you can put it in a bowl, but I prefer not having another dish to clean), and lightly drizzle a line of oil up and down the kale, working from one side to the other, leaving a couple inches between each “column.” Season kale with salt and pepper and massage oil in with your hands. Stirring the kale and oil with a spoon will not work. You literally want to rub the oil into the kale leaves with your fingers so they’re just lightly coated. It’s a little messy, but worth it. You can see they’ll still be matte-looking where they don’t have oil on them, though you don’t need to cover every last bit. Just try to get the majority covered. Also, you want to err on the side of using less oil. This is because if you use too much oil, the kale chips will come out greasy and oily-tasting. Ew! Go light on the oil…trust me.
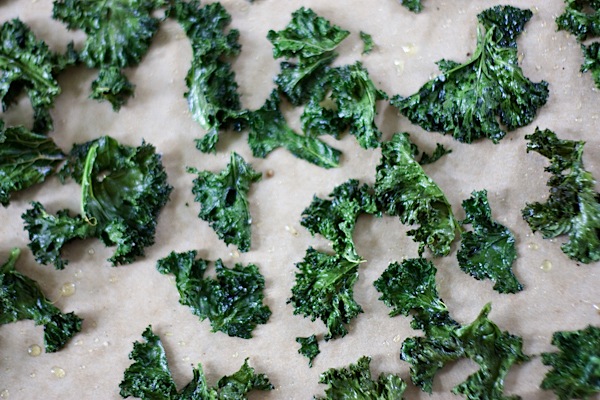
Kale Chip Placement for Baking (Don’t Overlap!): Placement of the kale chips is also important. You don’t want to overlap the leaves because they’ll bake unevenly. This will yield a batch of kale chips with some that are wilty and soft and some that are crunchy and possibly burnt. You want the kale chips to bake evenly, so be sure to place them side by side without overlapping. Note: They will shrink as they bake.
Easy Kale Chips Recipe & Baking Tips
- Prep Time: 10 mins
- Cook Time: 15 mins
- Total Time: 25 mins
- Yield: 4 1x
Description
This Easy Kale Chips Recipe is a cinch to prepare and can be made from prep to finish in less than 20 minutes. They’re perfect with a sandwich, BBQ chicken or tempeh, or as a snack all on their own. Read the above notes and check out the photos in this post for tips to help your kale chips come out perfect.
Ingredients
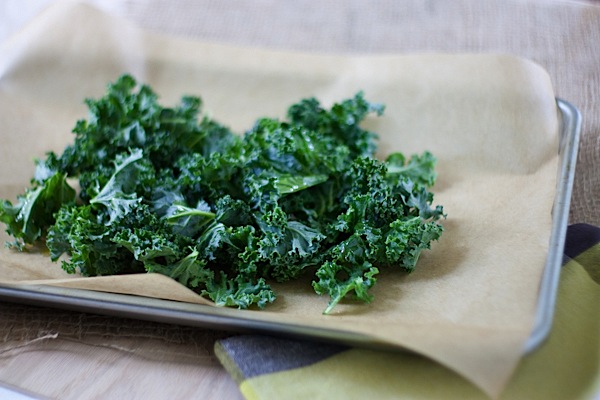
- 1 medium-sized bunch curly or dinosaur kale (read notes above about types of kale and size variations), washed well, stems removed, and leaves torn into large-bite-sized pieces (about 2–3 inches wide) and dried (I use a salad spinner to get the leaves good and dry)
- about 1/2 – 1 tablespoon extra virgin olive oil (read notes about about measuring oil)
- sprinkle of kosher salt, about 1 teaspoon
- sprinkle of fresh-cracked black pepper, about 1/4 teaspoon
Instructions
- Pre-heat oven to 325 degrees F. Prepare a large baking sheet (or 2 if needed, read notes above about kale chip spacing) with parchment paper (or use aluminum foil lightly sprayed with non-stick spray).
- Place kale in a wide pile on your baking sheet. Drizzle extra virgin olive oil over kale leaves, sprinkle with salt and pepper, and using hands, massage oil into the kale leaves. (See notes about on measuring the oil for additional tips).
- Once oil is evenly distributed, spread kale leaves out on baking sheet(s) in an even layer (see notes above about kale chip placement).
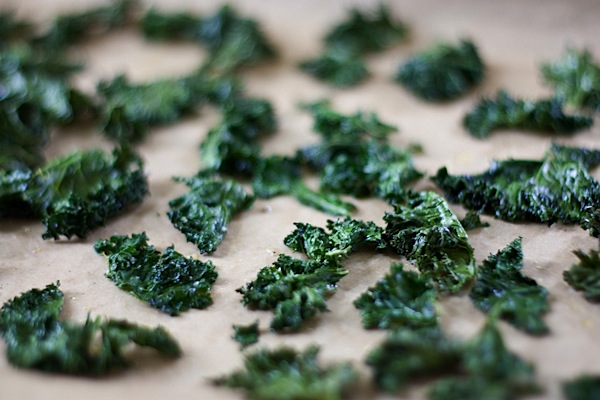
- Bake for 11-13 minutes, until leaves are crisp, but not burnt (mine usually stay pretty green, even once they’ve crisped up).
- Serve with ketchup or condiment of choice. Enjoy!
Notes
Note: I posted a lot of tips with photos in the accompanying blog post. Be sure to read through those for perfect kale chips!

***
If you liked this Easy Kale Chips Recipe, you may also like these recipes:
By the way, I have a couple more kale chip flavors headed your way soon! Here are some teasers: Parmesan kale chips, Salt & Vinegar kale chips, Balsamic kale chips, and more! 🙂
Happy kale chip baking! Hope you enjoy this Easy Kale Chips Recipe!
***
Like this recipe? Feel free to click the Facebook-Like button for this post or share this post via Twitter, etc using the Share buttons at the end of this post. 🙂
Click here to free updates (via email or RSS)
***
Reader question: What kale chip flavor would you most like to see me make?
Parmesan! I’ve played around with that flavor myself, so I’m curious to see how you do it 🙂
I solved the oil problem by using a Misto to lightly spray the pan, then the kale chips with olive oil. No measurement required! 🙂
I just made kale chips for the first time not too long ago and I couldn’t believe how amazing they were! Even my boyfriend enjoyed them! I will definitely use these tips, though. I didn’t think to space them out. I usually just put a whole bunch onto a flat pan. Thanks! 🙂
I do that (overlapping the chips), too, when I’m rushing and not wanting to clean an extra pan, but it never comes out quite right. Unfortunately, the only way is to properly space them. Oh well! lol 🙂
I tried purple kale this week too and hated it… It was really bitter even after massaging it!
I think the purple is mostly used for its good looks. lol. I tried to buy some at the nursery, and they said it was better for landscaping. Guess they were right! lol
Mmm I love kale chipsss! Especially with some smoked paprika on top 😀
Great tips! I will have to try these again. On my first go, they were tasty, but I overlapped them and some weren’t crunchy. Disaster. Time to give them another try 🙂
Yes! Hope they come out better next time 🙂
Kale Chips! YAY!!! I have been wanting to try those for FOREVER!!! 🙂
Have you tried them yet? 🙂
Has anyone tried to make kale chips in the food dehydrater?
Would like to get some info on that, esp. about timing.
I can’t wait to try them.
I personally haven’t tried them in the dehydrator. Buuuut, I’ve been wanting to experiment. I will definitely blog results when I do! 🙂
Hi Margarete!
I just (today) got a blog comment saying you can do kale hips in the dehydrator. Check out Rhonda’s comment. If you’re reading this from your email, you can click on this link to go straight to it: https://thechiclife.com/2011/06/easy-kale-chips-recipe-baking-tips.html#comment-242724
She said she wasn’t sure on timing, though, but to start with 3 hours.
HTH, 🙂 Diana
I have been unsuccessful with making kale chips until I found your recipe. Thanks! The lower temp of 325 works much better.
Instead of adding a tsp of salt & pepper or other seasonings/ketchup, try adding a tsp of the indian spice mixture “Chunky Chat.” You will be able to find it at any indian grocery. The flavor is so complex & wonderfuly delicious and it goes great with kale chips. Be sure to not add any more salt as Chunky chat has a lot already.
Thanks for the info, Kale is intimidating but I’m trying this tonight!
I’ve made kale in my dehydrator, proabably about 115 degrees if you have an option and just let it go til they are crisp and dry. no, of course I didn’t write it down, so timing is a guess. I’d start with 3 hours
Hey Rhonda, Thanks so much for sharing! 🙂
I’ve been doing this for a couple years…love me some kale chips! I prefer laying all of my kale chips out, then spraying them with olive oil instead of massaging it in (just the olive oil version of cooking spray!). Then turn, spray again and pop them in the oven. SO much faster and less messy. Good, light coating as well.
Wow 11 minutes at 325 degrees resulted in brown crisps…
Sorry to hear about your kale chips! Oven temperatures vary greatly, so you may want to try going a little less than 11 minutes. It sounds like yours cooked very fast, so I’d check them as early as 8 minutes and again every minute, as needed, until they’re the texture you want. Happy cooking!
I just made these. My oven must run hotter cause my first batch turned out burnt. but the second time around, i lower the time to 6 minutes and they turned out perfect! I added less olive oil and added vinegar and some light sea salt…yummm. tastes a little like salt and vinegar chips!